


Overview
Efficiently tailor your Google Docs to your preferences with our comprehensive guide on changing document orientation. Elevate your document customization by seamlessly adjusting the orientation to suit your specific needs. This user-friendly guide provides step-by-step instructions, empowering you to effortlessly enhance the visual presentation of your content within the Google Docs platform. Optimize your document layout for a more personalized and polished look with this straightforward orientation-changing tutorial.
Who is Google Docs best suited for?
Google Docs is best suited for a wide range of professionals, including Writers, Educators, and Team Collaborators. For example, Writers can use Google Docs for drafting and editing content, Educators can leverage it for creating and sharing lesson plans, and Team Collaborators can use it for real-time document editing and feedback, all benefiting from Google Docs’ cloud-based accessibility and seamless collaboration features.
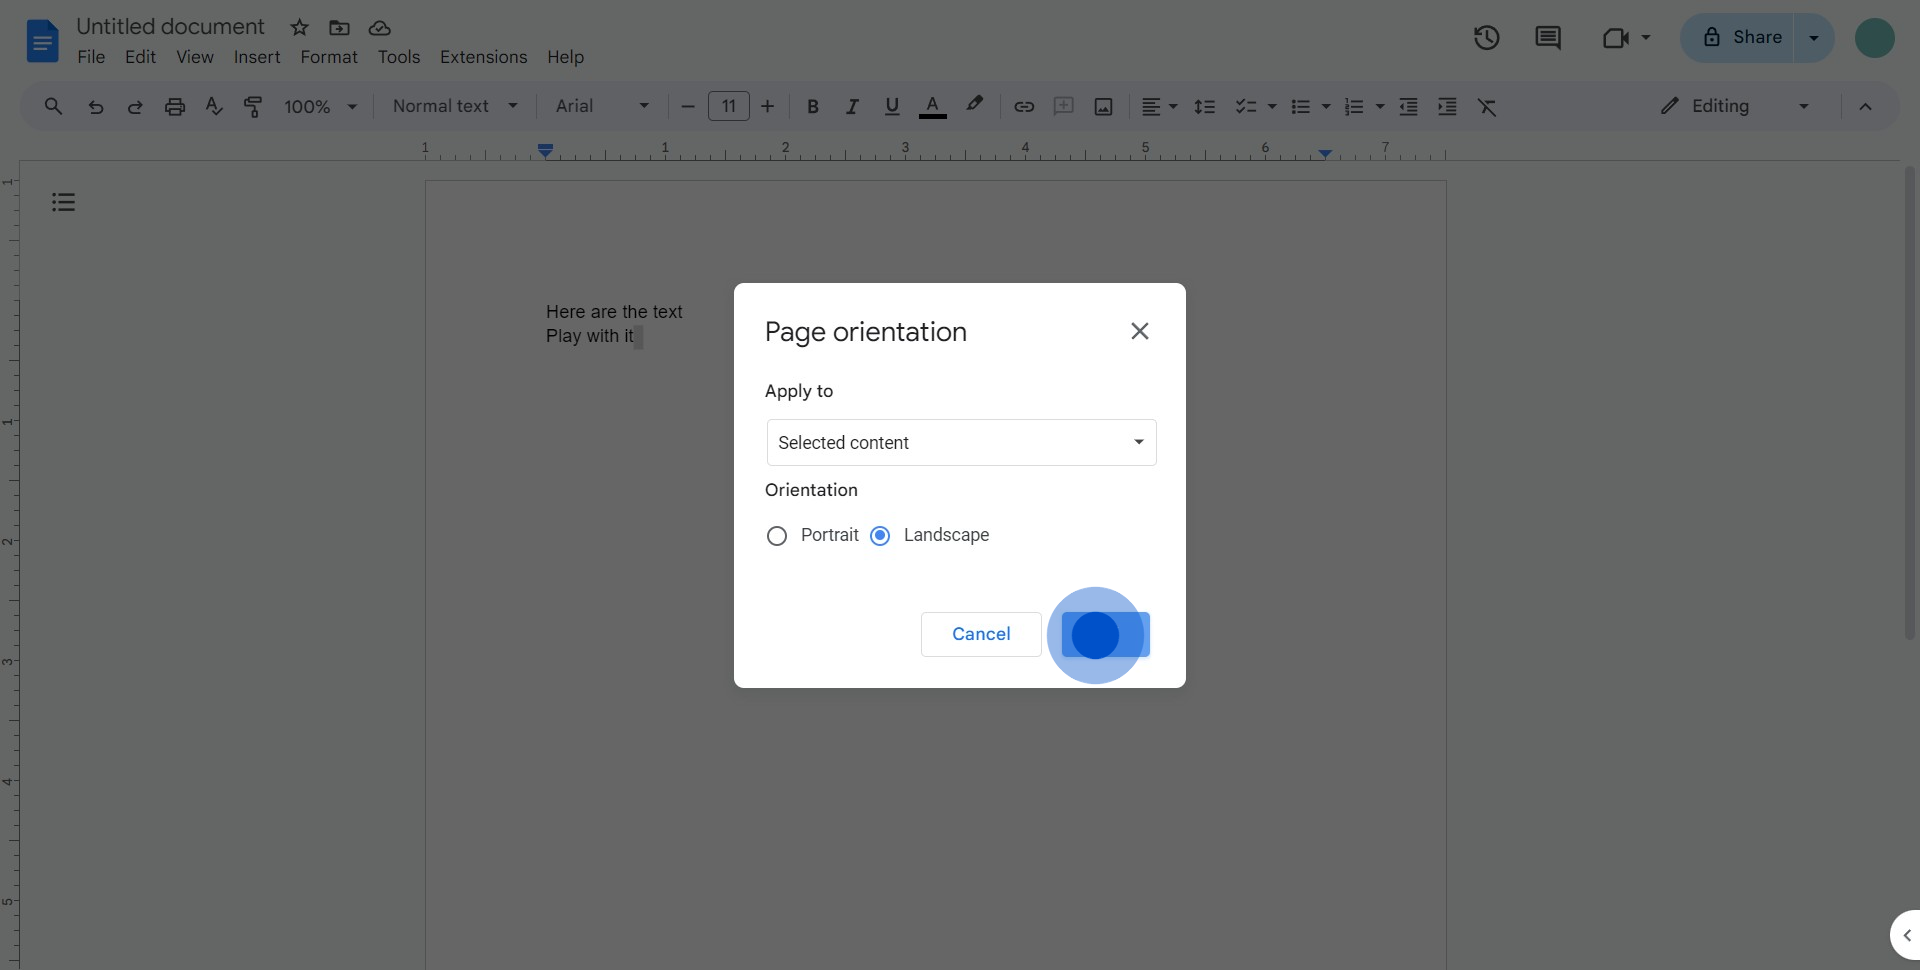
How to change the orientation of your Google doc
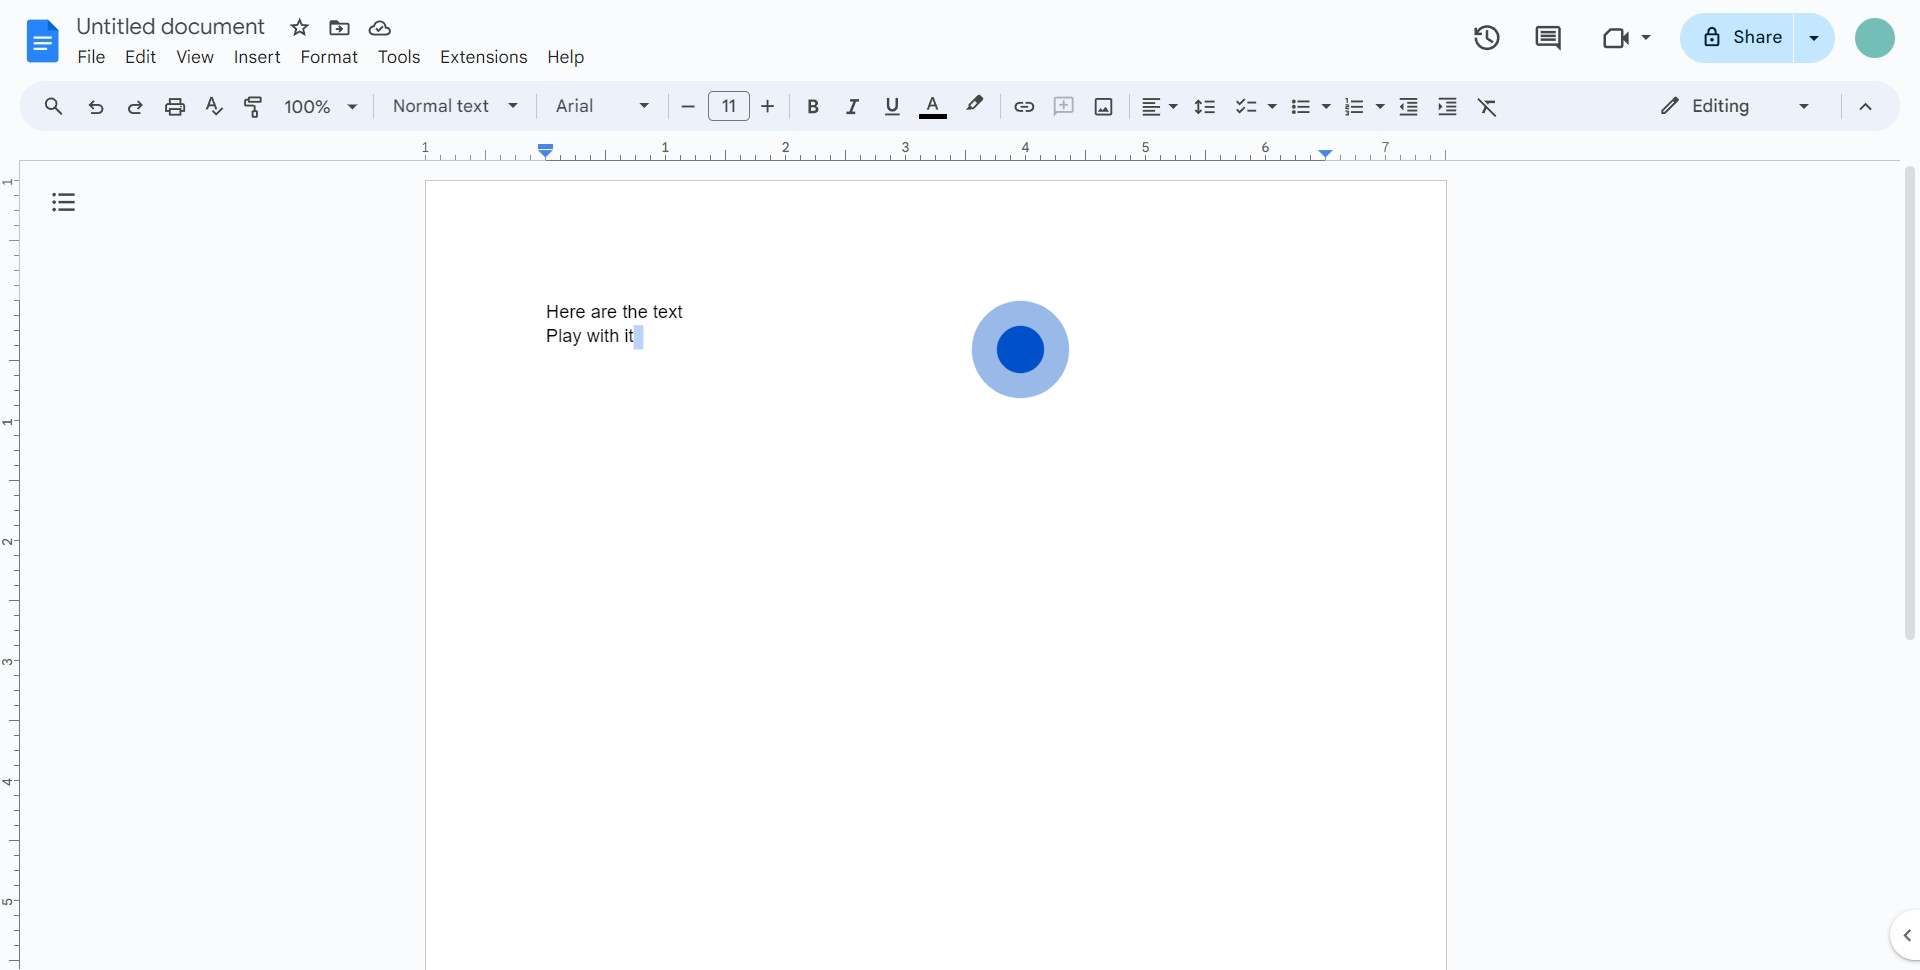
1. Begin by launching your Google Doc page.
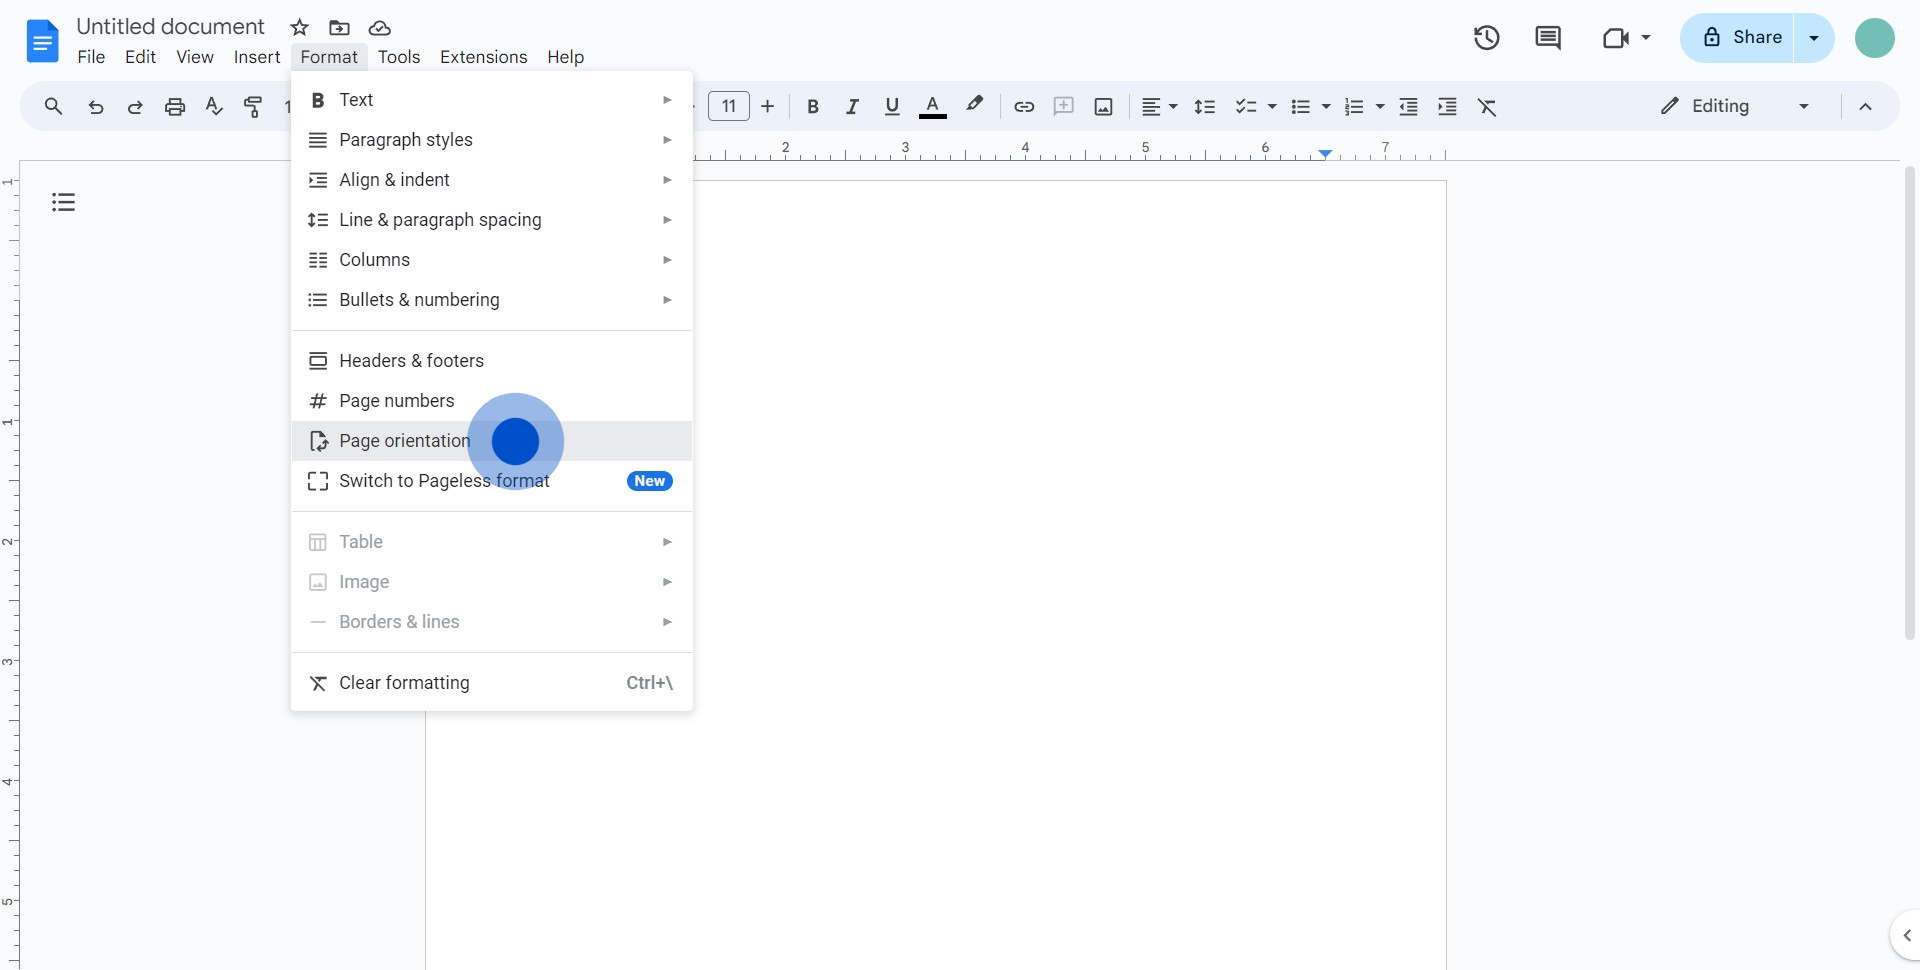
2. Navigate and select the 'Format' menu option.
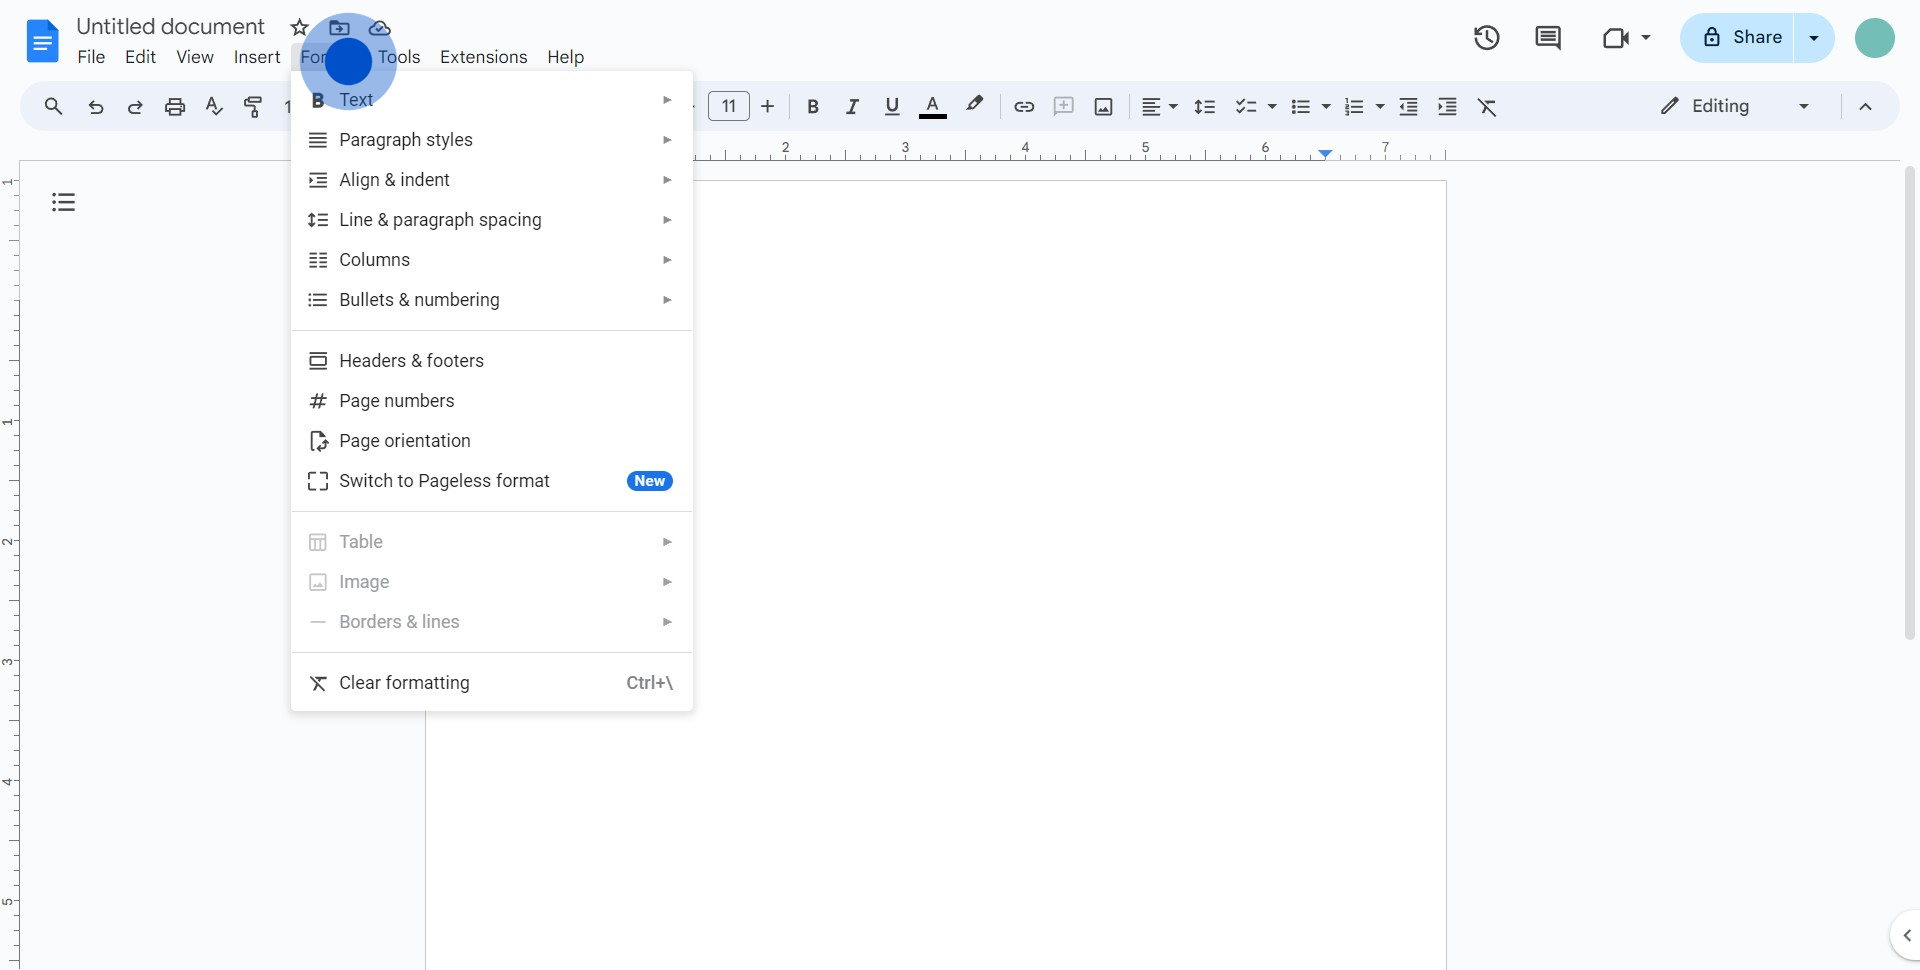
3. Within the 'Format' dropdown, find and select 'Page orientation'.
4. Choose desired page orientation.
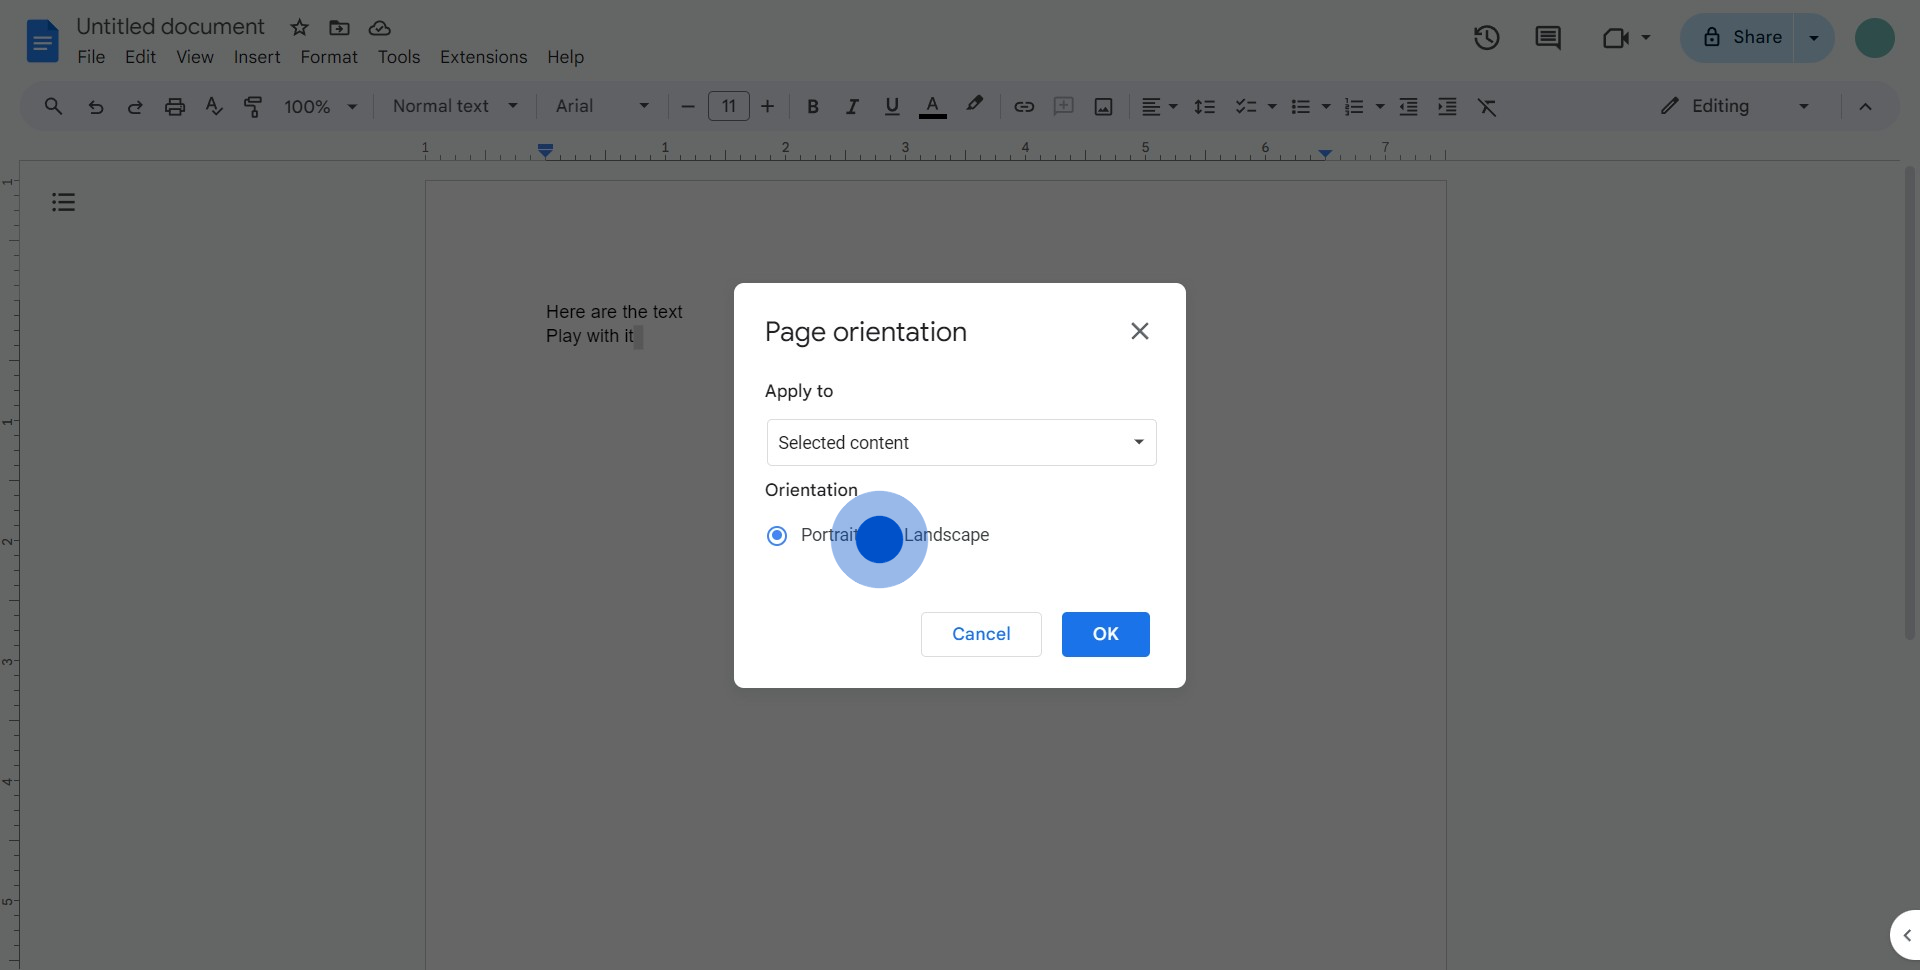
5. Confirm your selection by clicking 'OK'.
Common FAQs on Google Docs
How do I collaborate with others in real-time on a Google Doc?
To collaborate with others in real-time on a Google Doc, click the “Share” button in the top-right corner of the document. You can invite people by entering their email addresses and choosing their access level: “Viewer,” “Commenter,” or “Editor.” If you prefer, you can also generate a shareable link that can be sent to others. Once shared, collaborators can edit the document simultaneously, and you’ll see their changes in real-time. Each collaborator's cursor will be identified by a different color, and you can also communicate via comments or suggestions within the document.
How do I use Google Docs' commenting and suggestion features for editing?
In Google Docs, you can leave comments and suggestions to collaborate more effectively. To add a comment, highlight the text you want to comment on, then click the comment icon that appears on the right side of the document or use the “Insert > Comment” menu option. Type your comment and click “Comment” to save it. Others can reply to your comment or resolve it when the issue has been addressed. To suggest edits, switch to “Suggesting” mode by clicking on the pencil icon in the top-right corner and selecting “Suggesting.” Any changes you make will appear as suggestions that others can accept or reject. This feature is especially useful for collaborative editing, as it allows for easy review and approval of changes.
How can I format my document in Google Docs using styles and headings?
To format your document in Google Docs, use styles and headings to create a consistent and organized look. Google Docs provides predefined styles for headings, subtitles, and normal text, which you can apply to your content. To apply a style, highlight the text you want to format, then choose a style from the “Styles” dropdown menu in the toolbar. For example, you can use “Heading 1” for main section titles, “Heading 2” for subsections, and so on. This not only improves the visual hierarchy of your document but also allows you to create a table of contents automatically. To update the style to match your preferences, format the text as desired, then click the style dropdown and select “Update [style] to match.” This will apply your custom formatting to all text using that style throughout the document.
Create your own step-by-step demo
Scale up your training and product adoption with beautiful AI-powered interactive demos and guides. Create your first Supademo in seconds for free.
