How to adjust the nudge amount in Figma

How to adjust the nudge amount in Figma

Overview:

Streamline your design process in Figma by mastering the art of adjusting nudge amounts. Elevate your user interface precision by fine-tuning the nudging settings, ensuring pixel-perfect alignment and effortless design adjustments. This guide offers a straightforward walkthrough, empowering you to seamlessly customize nudge amounts in Figma and enhance overall efficiency in your design workflow. Optimize your experience and achieve precise design control with this essential guide on adjusting nudge amounts in Figma.

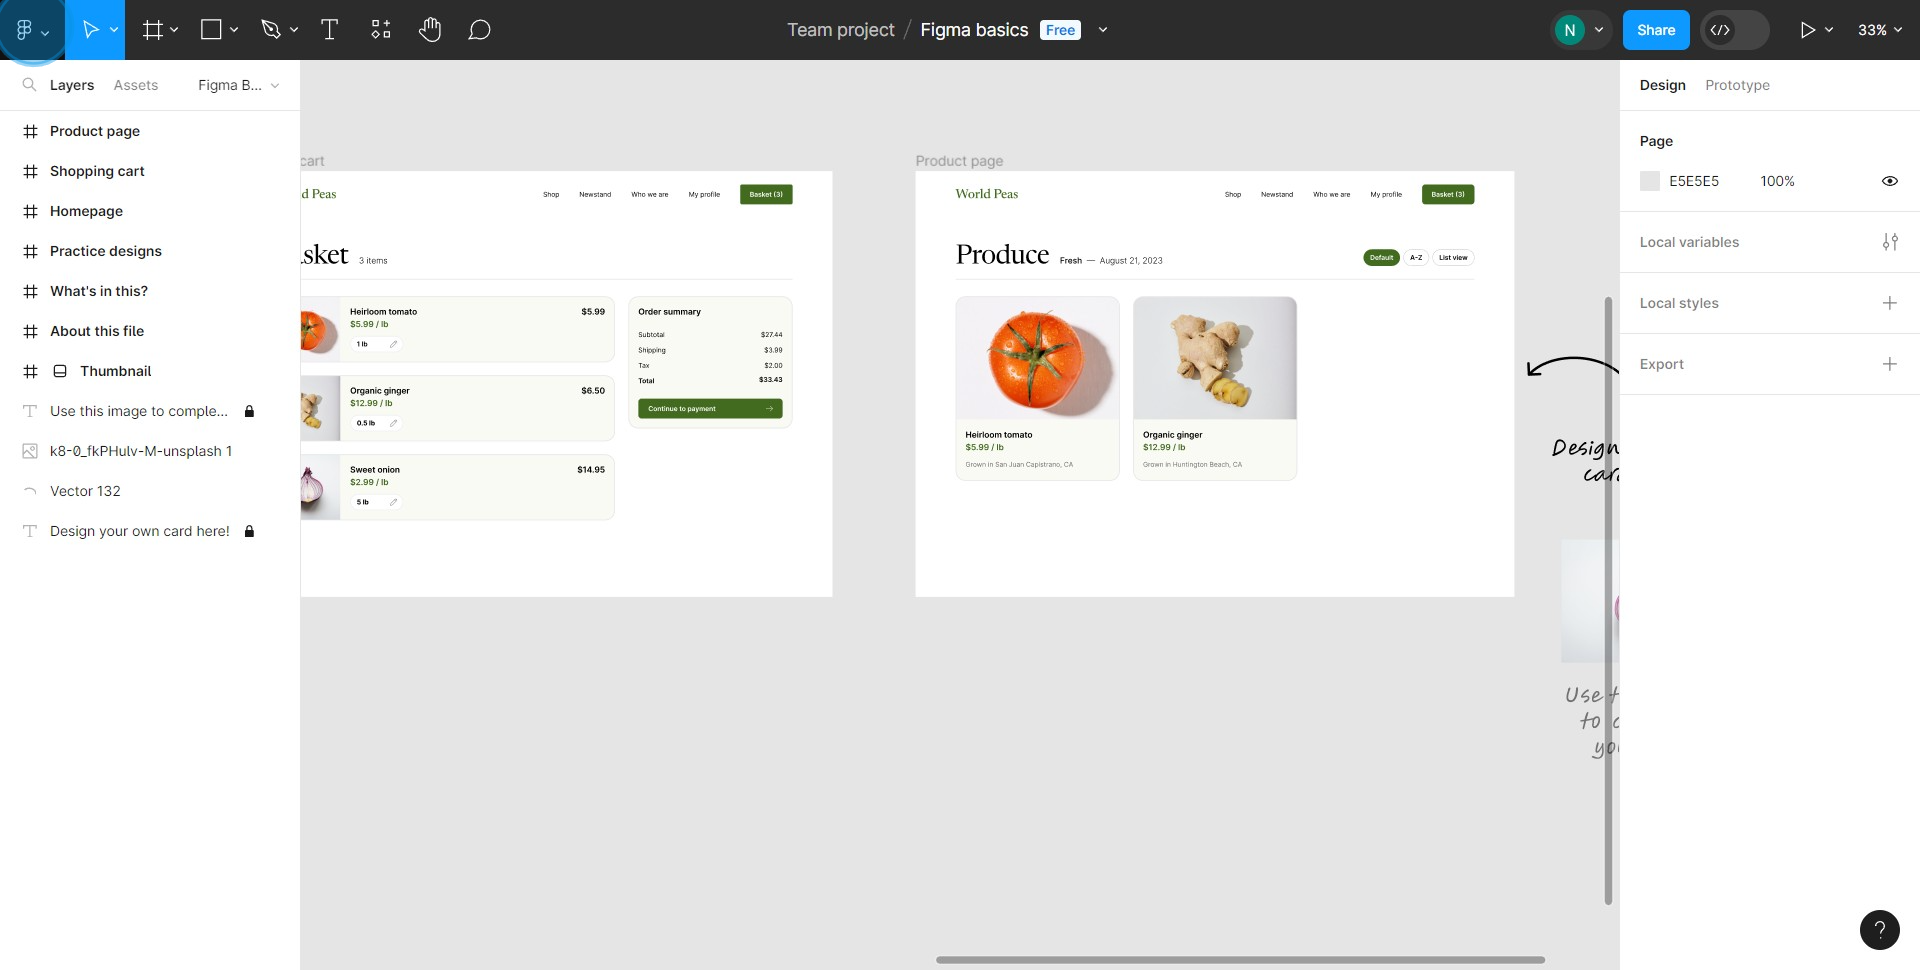
1. Start by navigating to the home screen.

1 Click here

2. Next, locate and click on the preferences option.

2 Click here

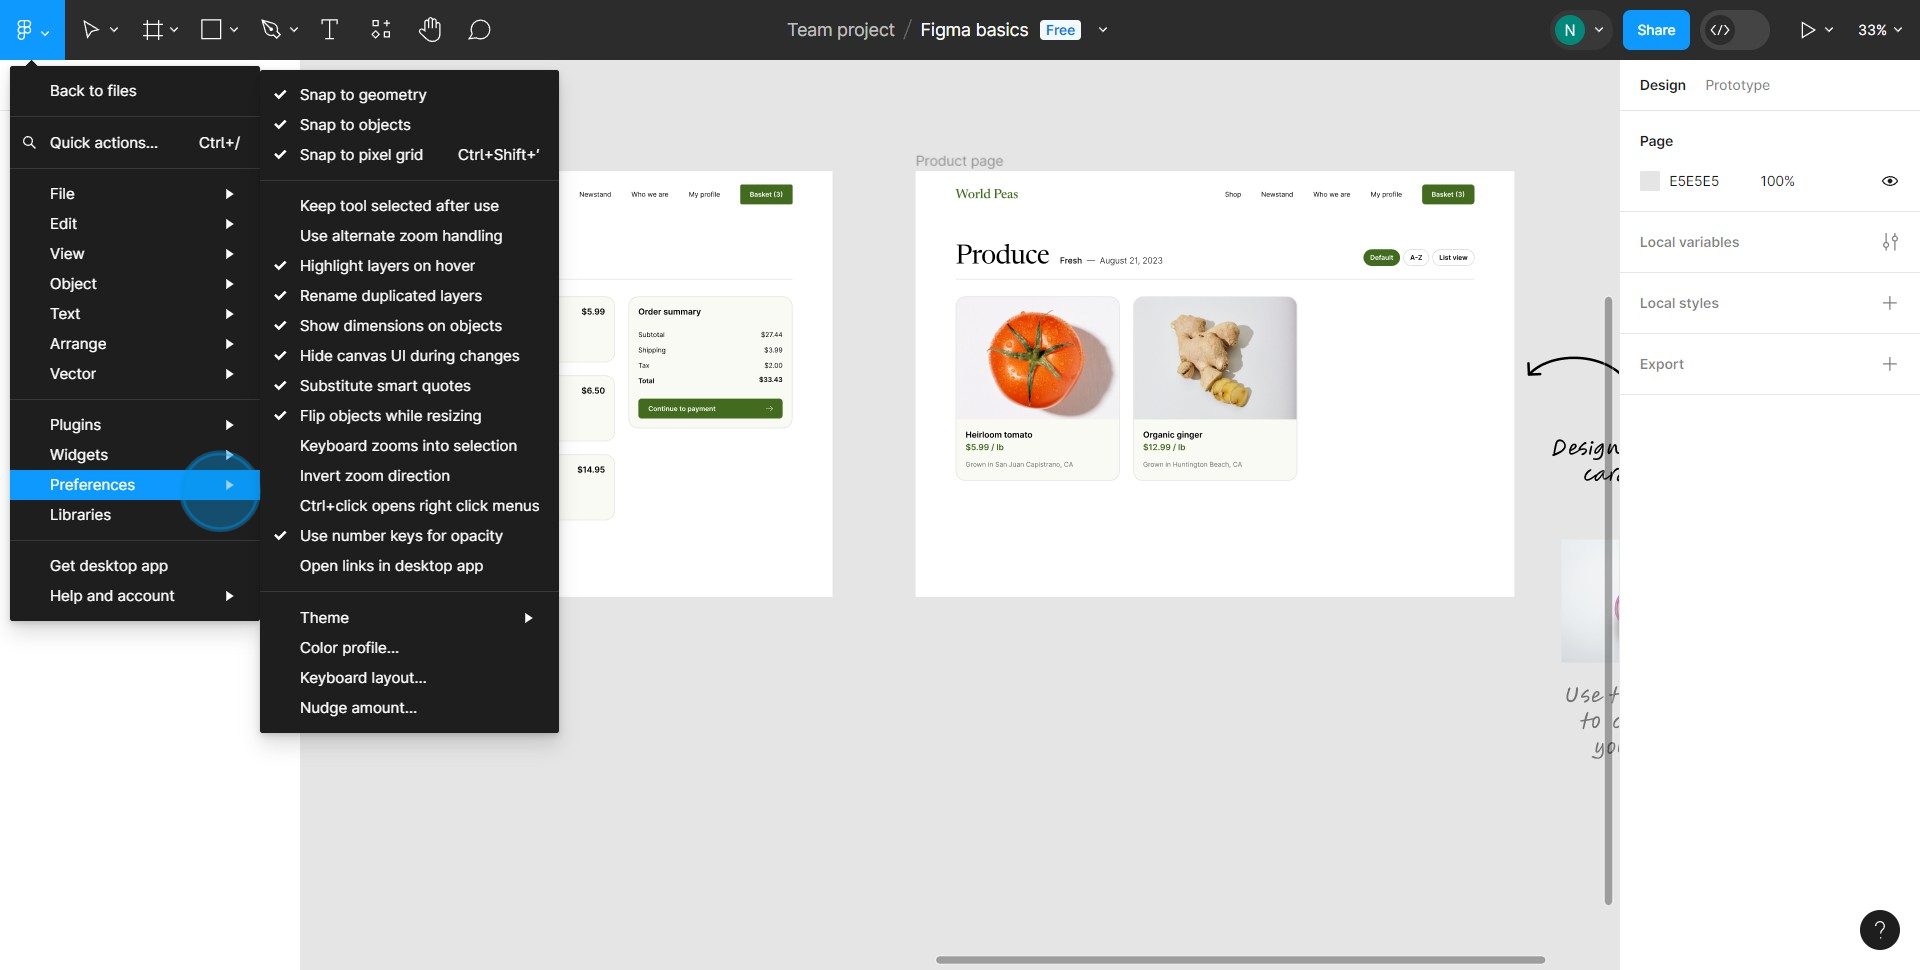
3. Finally, find 'Nudge amount', select it, and input your adjusted value.

3 Click on "Nudge amount…"

Create your own step-by-step demo

Scale up your training and product adoption with beautiful AI-powered interactive demos and guides. Create your first Supademo in seconds for free.

A core issue we identified was that the team was often spending a lot of time creating custom demos, guides, or walkthroughs for unqualified prospects.

Ultimately, this led to a lot of wasted time, a huge amount of burden and effort for already busy staff, and a diffusion of focus on targeting the right prospects.

Casey O'Brien
Solutions Consulting Director

Prior to Supademo, we were spending countless hours putting together demos and videos across discovery, qualification, training, or simply answering common questions. Creating these could take upwards of 8-10 hours, which is both painful for us, but also less engaging for prospects.

Andreas Moekesch
Solutions Consulting, Processmaker

One of my pain points was how time-consuming it was to create product demos for both demonstrations and trade shows manually. The ability to create a Supademo in minutes and the ability to showcase these at conferences has saved us an incredible amount of time!

Kirill Stolbushkin
Solutions Consulting, Processmaker