


Overview:
Enhance your project management in Asana by incorporating subtasks to efficiently organize and categorize project details. Elevate user experience and streamline task execution by adding relevant subtasks, ensuring easy identification and comprehensive project planning. This guide offers a seamless process for creating and managing subtasks within Asana, empowering you to optimize your project management strategies for improved efficiency and clarity within the platform.
Who is Asana best suited for?
Asana is best suited for a wide range of professionals, including Project Managers, Team Leaders, and Operations Coordinators. For example, Project Managers can use Asana for planning and tracking project milestones and deliverables, Team Leaders can leverage it for assigning tasks and monitoring team progress, and Operations Coordinators can use it for streamlining workflows and ensuring that all processes are running efficiently, all benefiting from Asana’s robust task management and collaboration features.
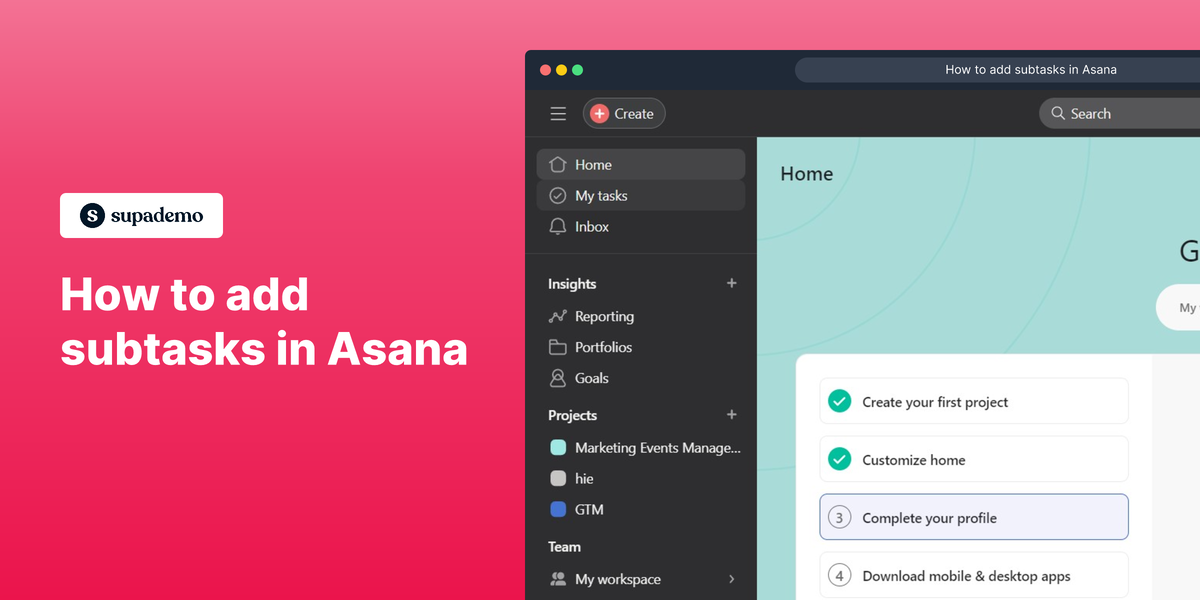
How to add subtasks in Asana
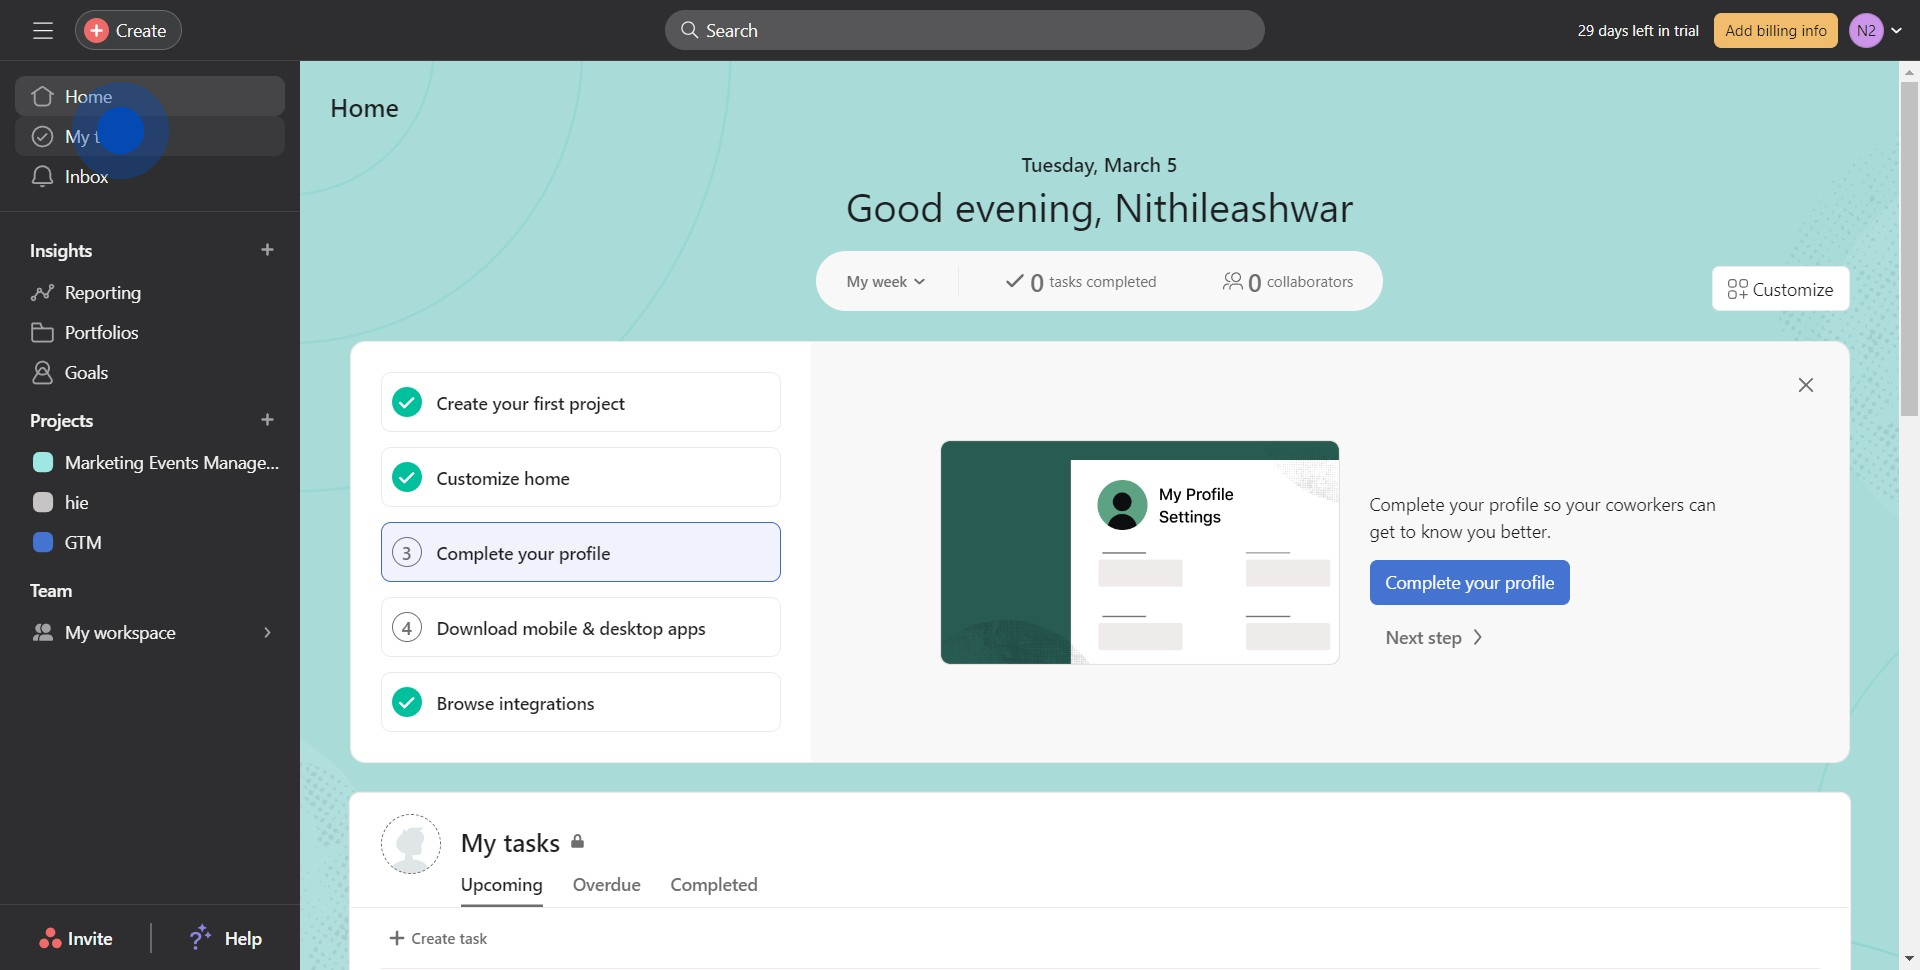
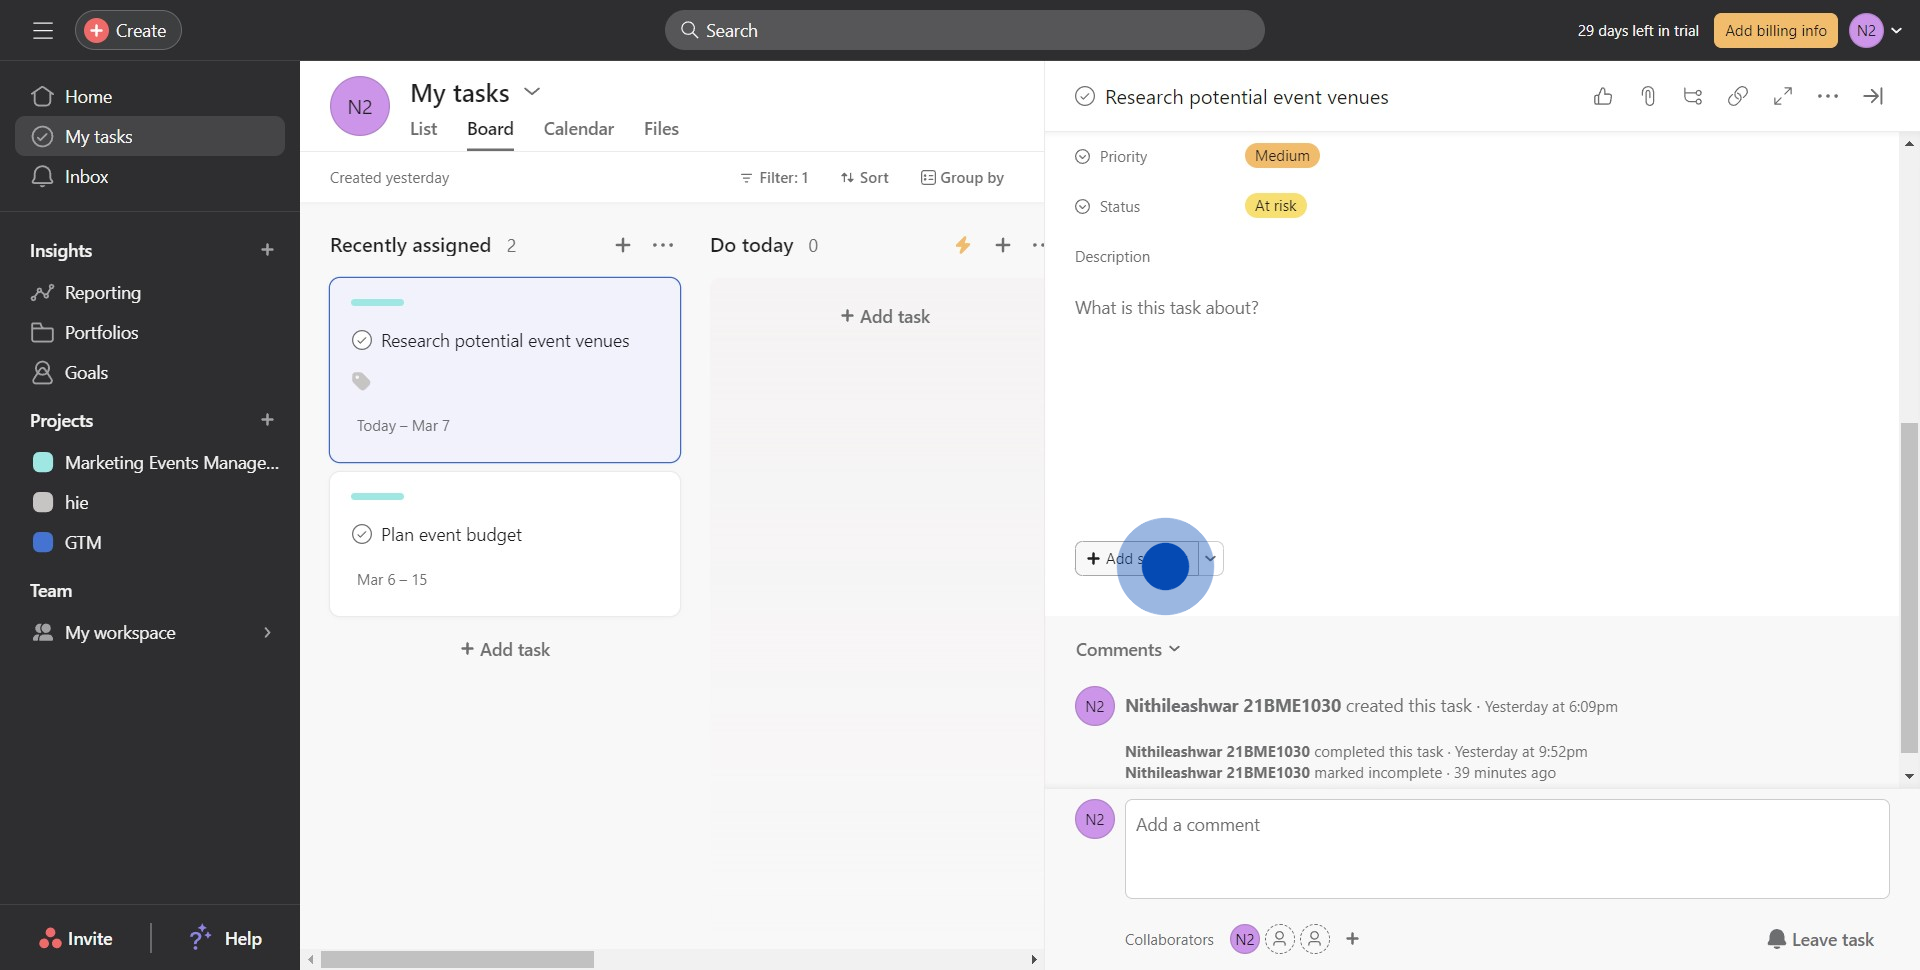
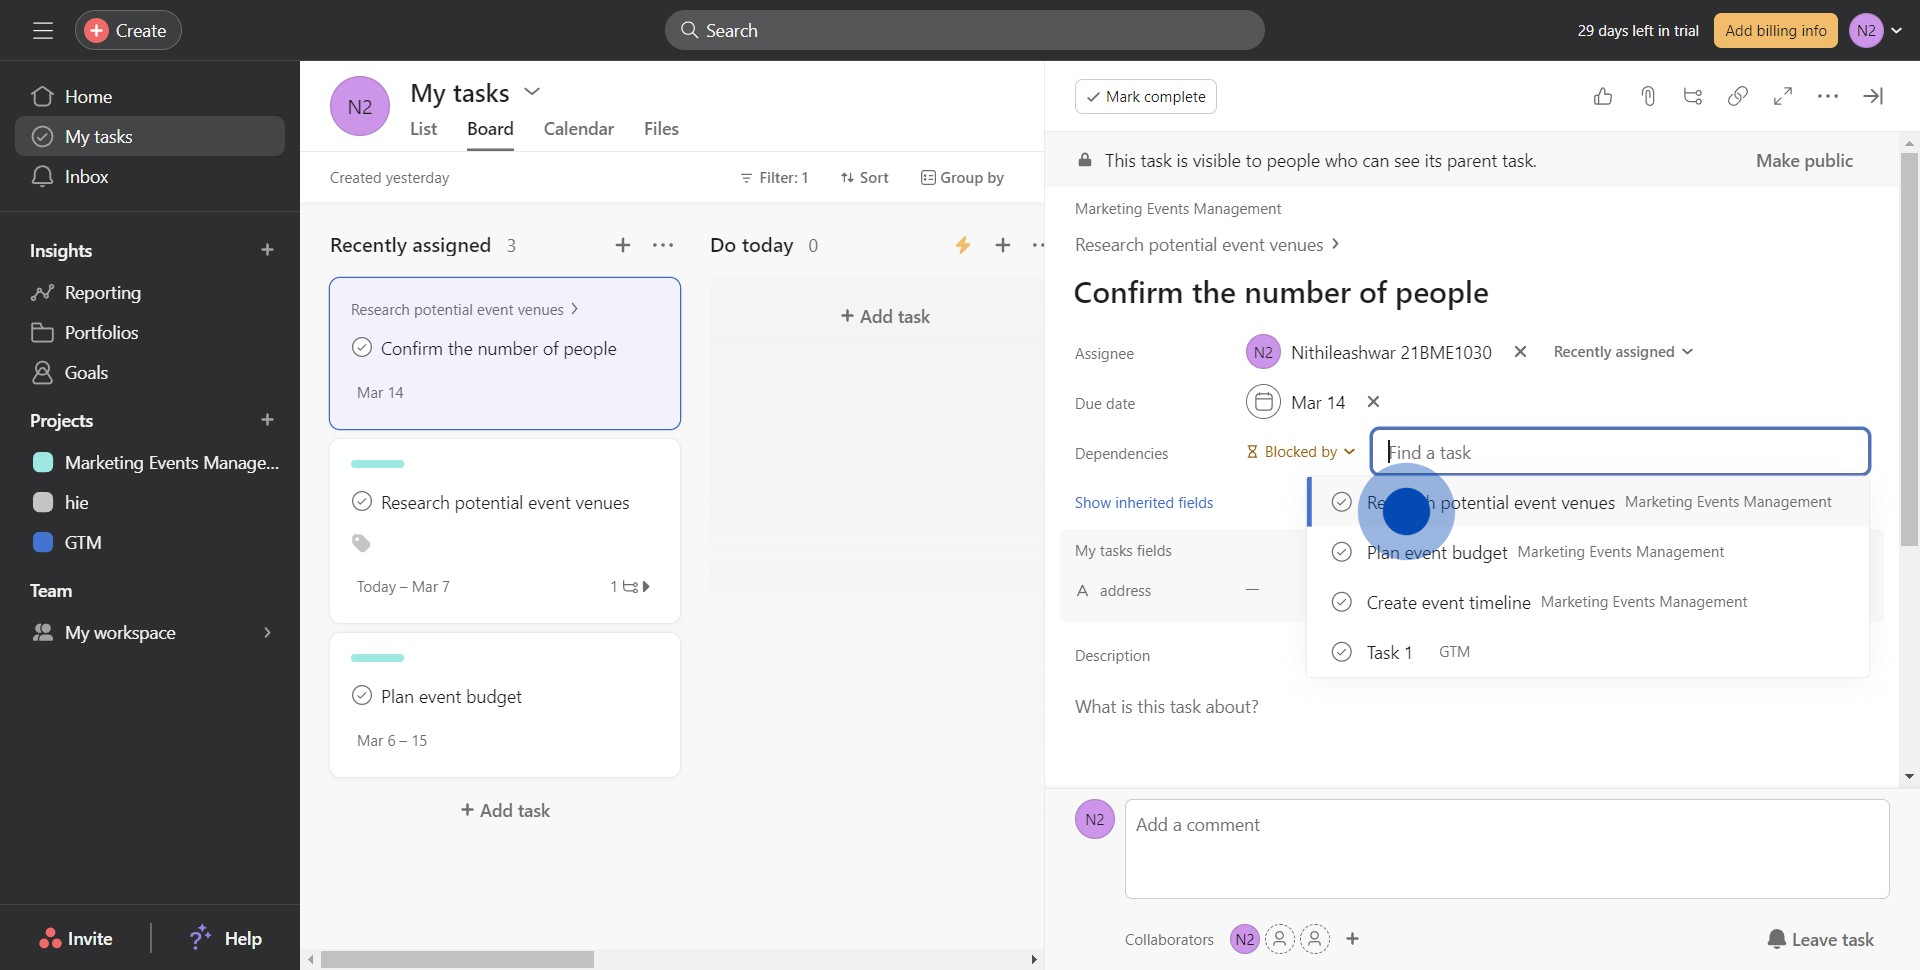
1. Start by selecting the 'My Tasks' section.
2. Next, locate and open your chosen task.
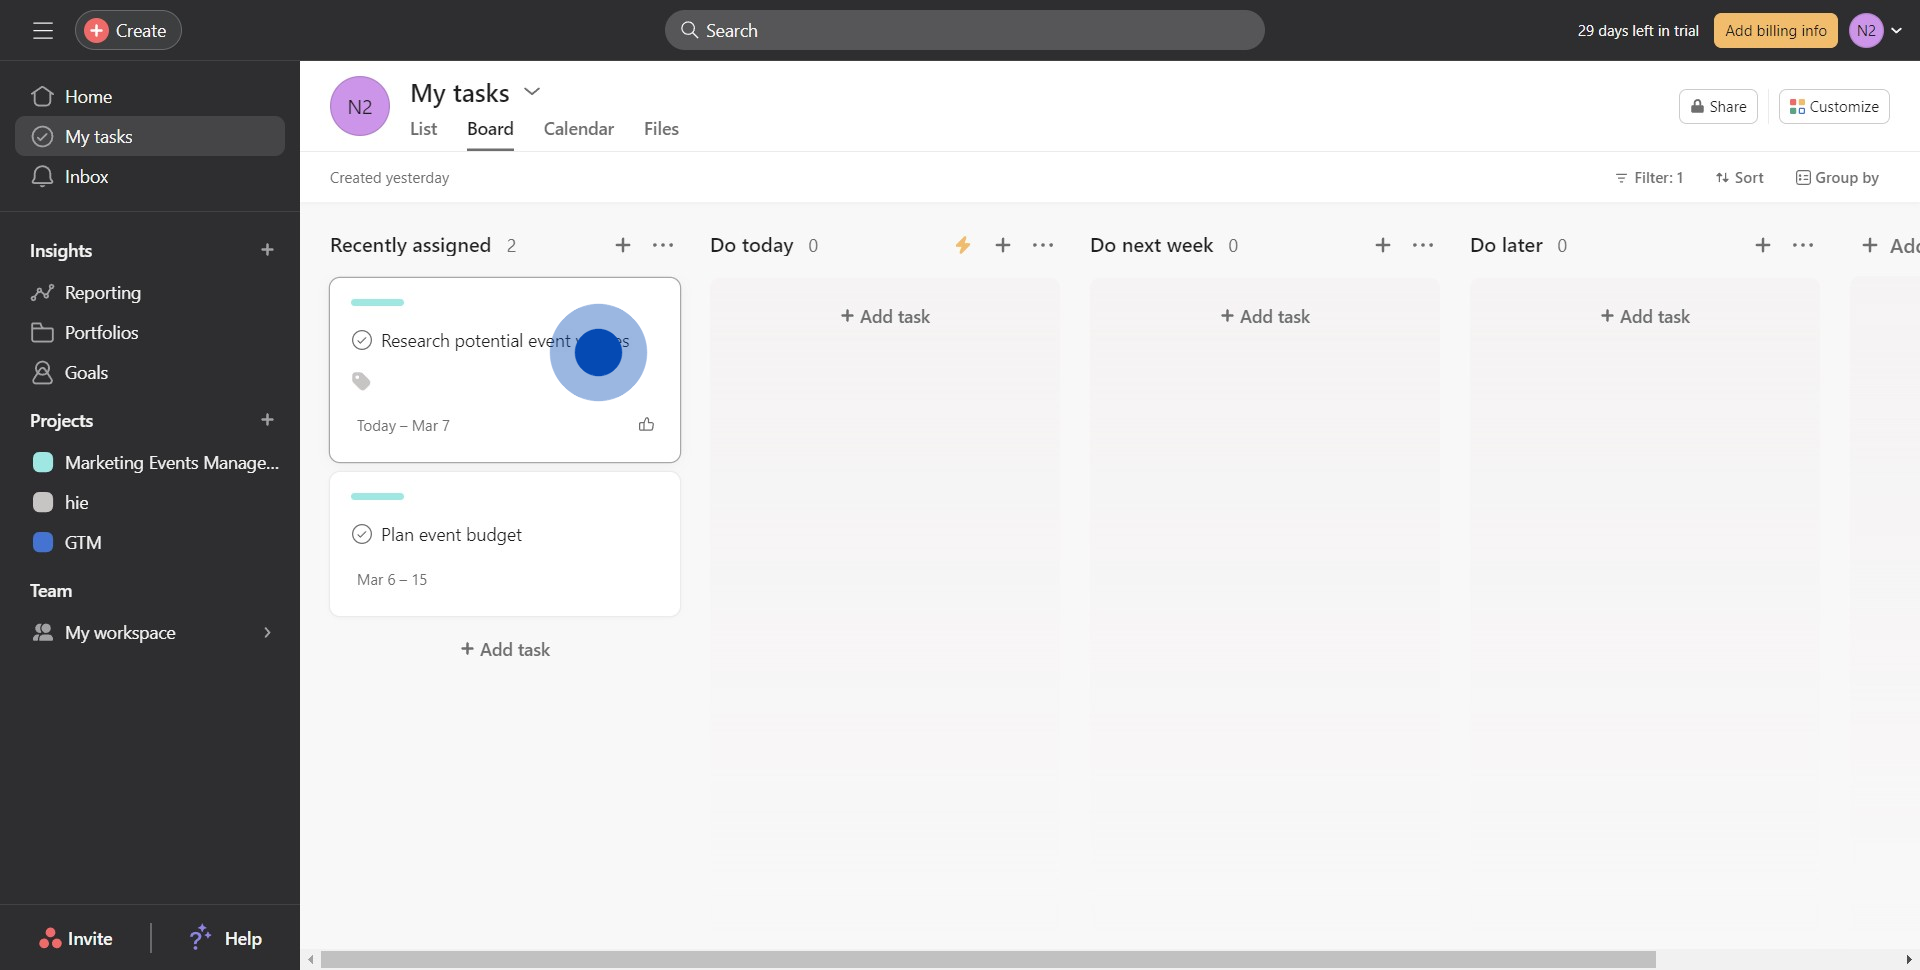
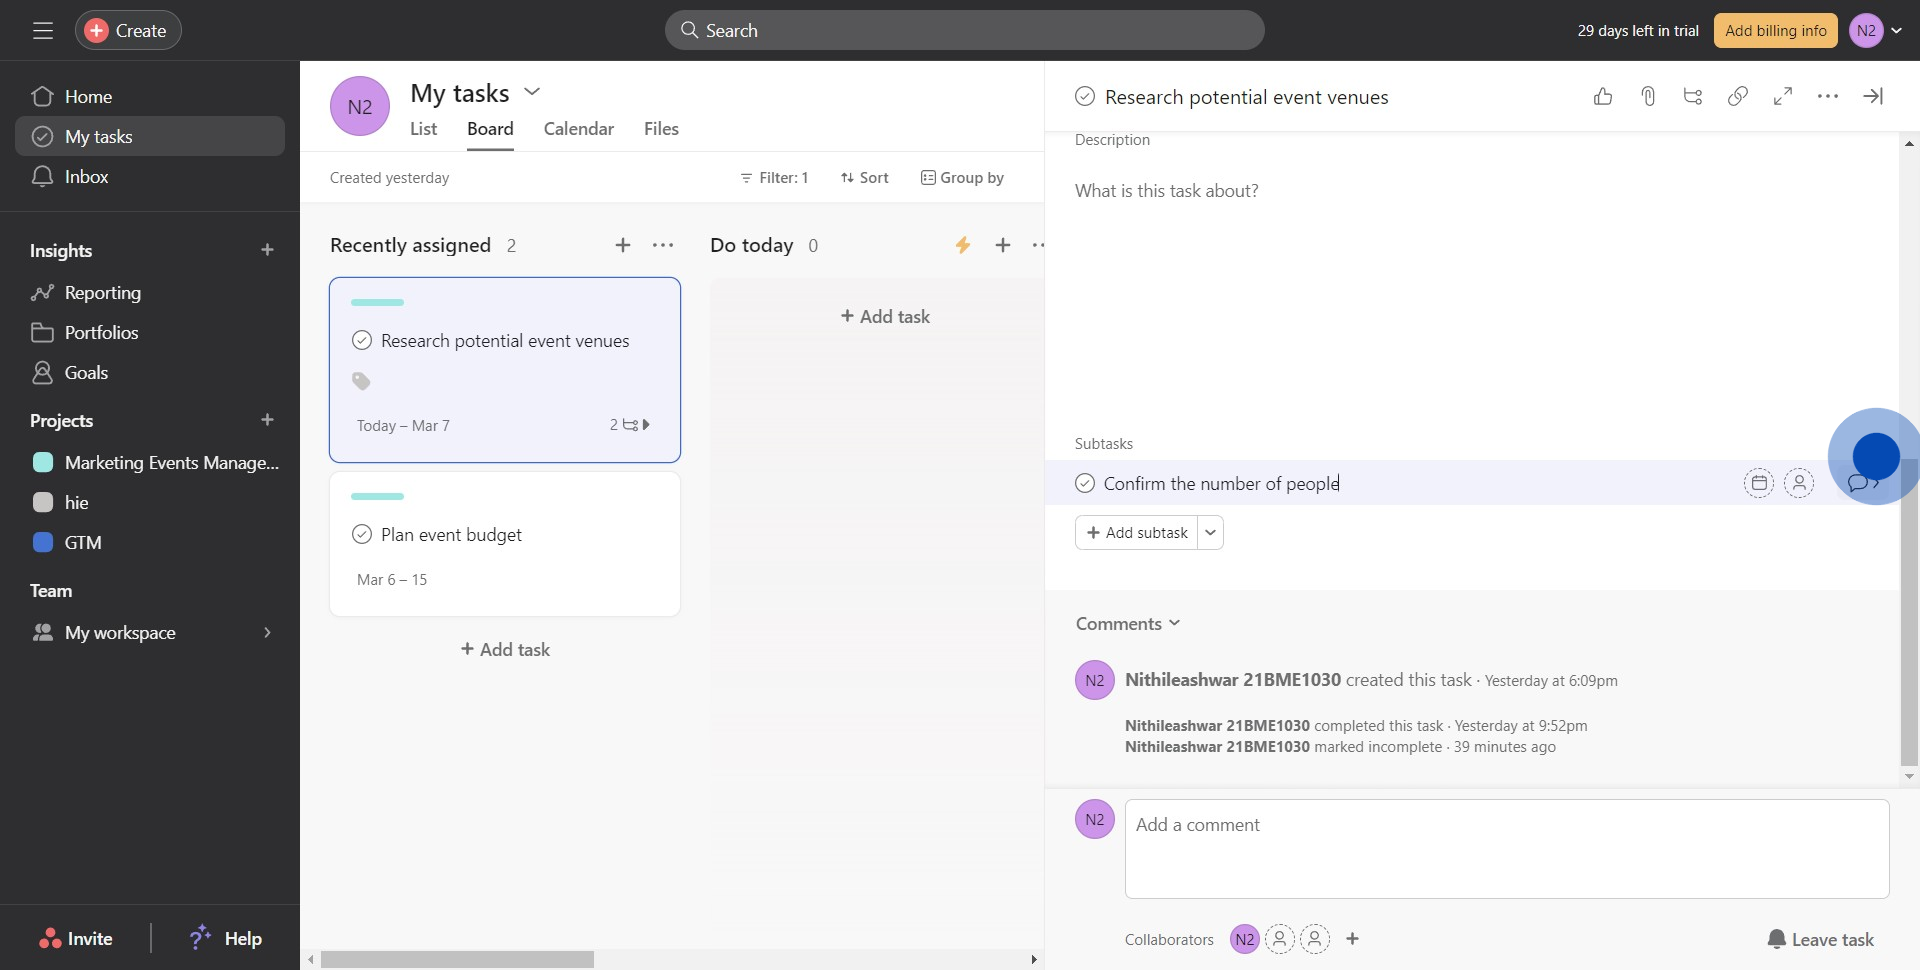
3. Scroll within the task till you find the option to add a subtask.
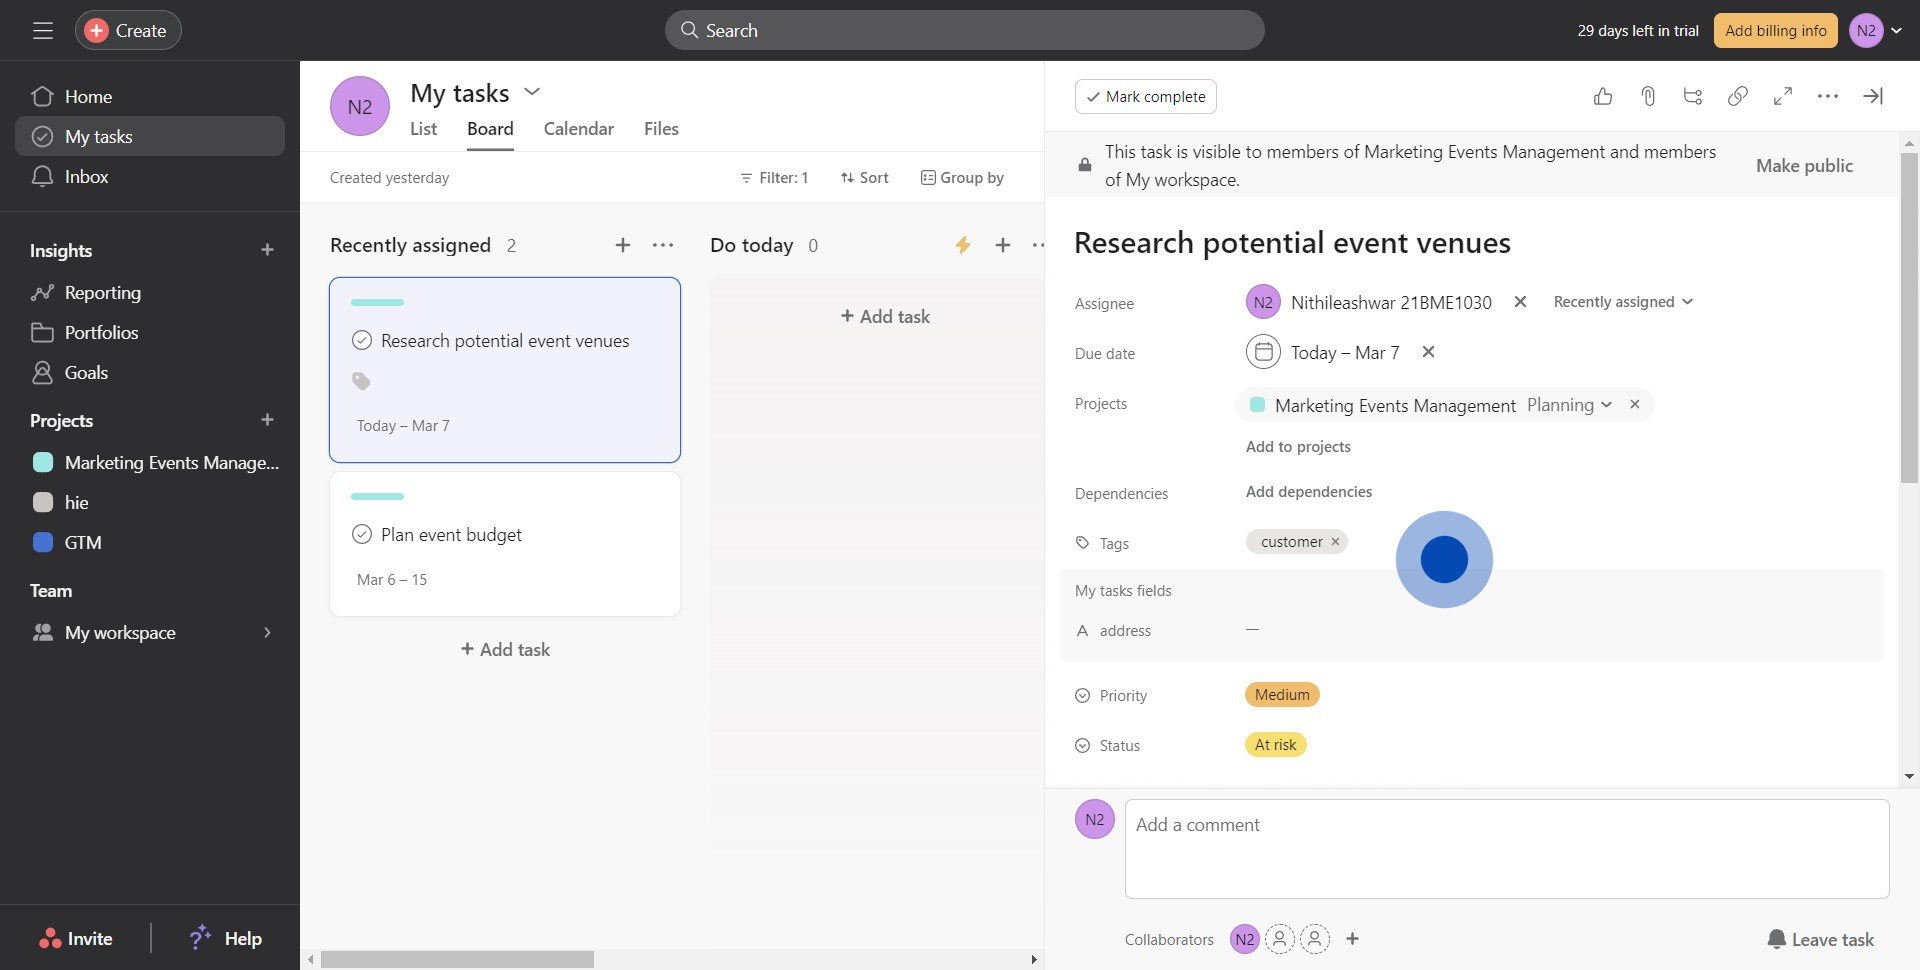
4. Go ahead and click the button labeled 'Add Subtask'.
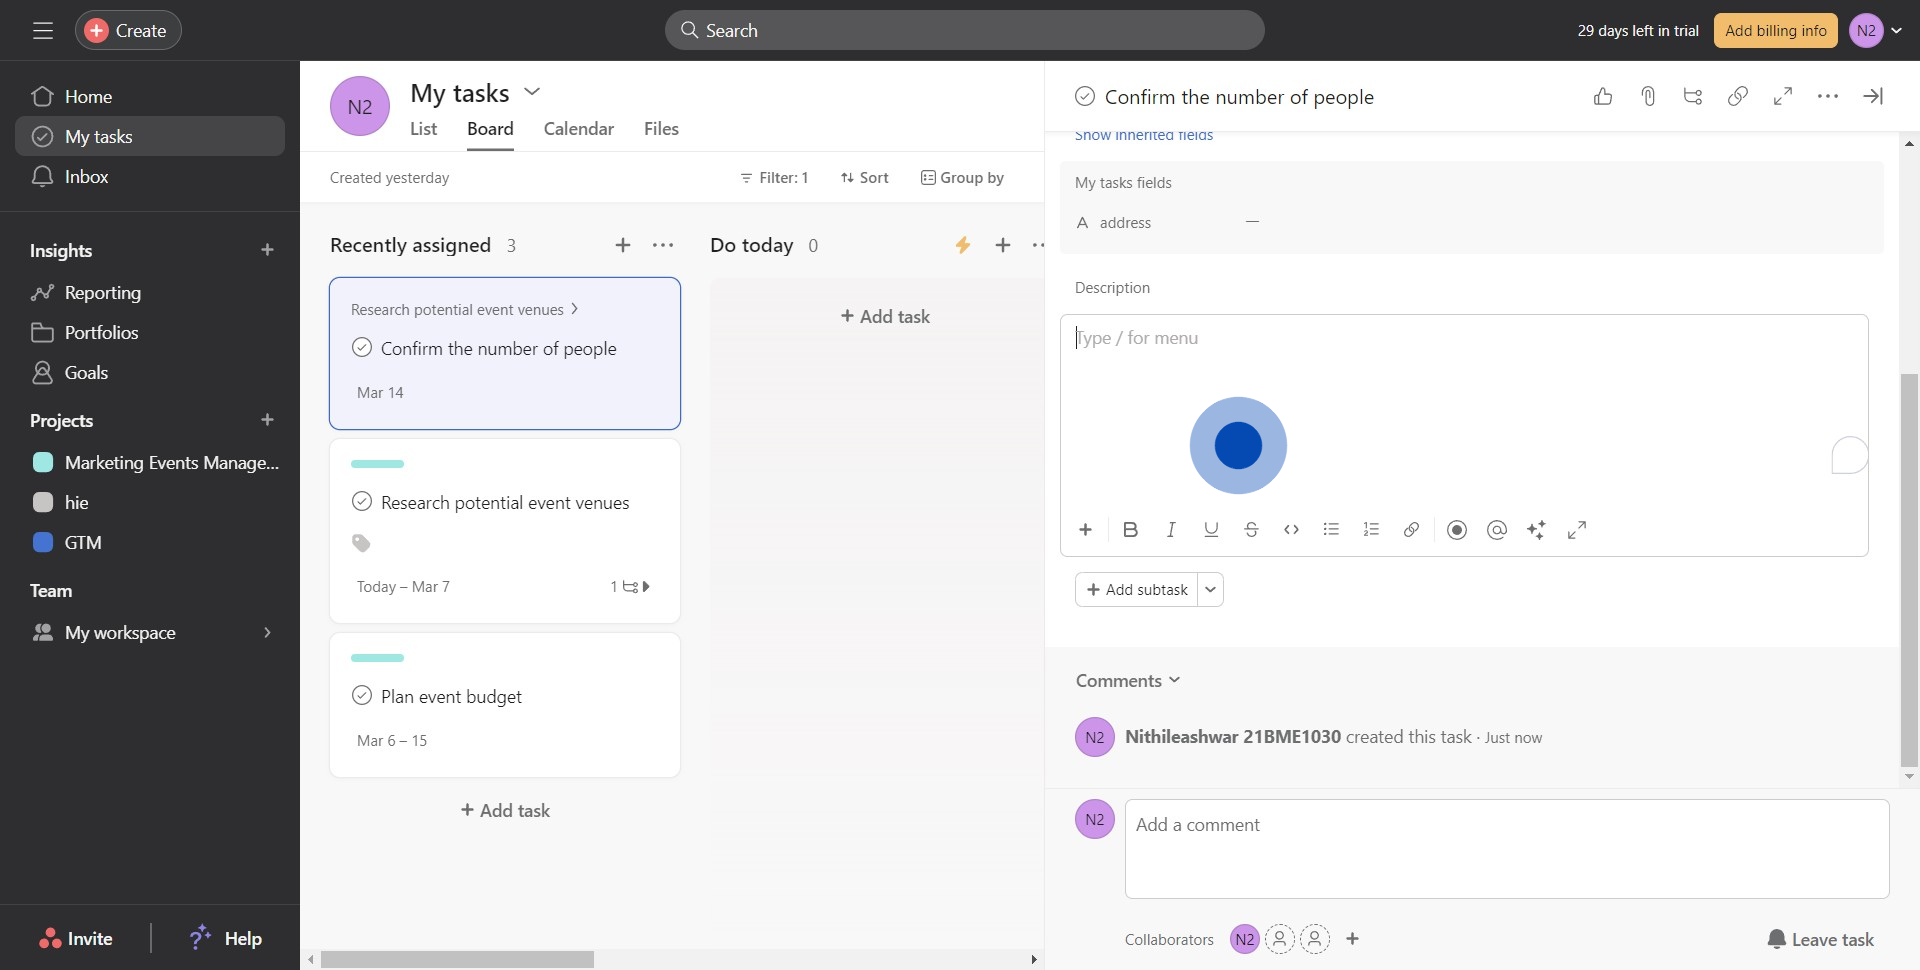
5. Now, the subtask has been created, click it to open.
6. Take your time to fill in the necessary details in the subtask.
7. Once you're done, select the 'Add Dependencies' to connect it with the main task.
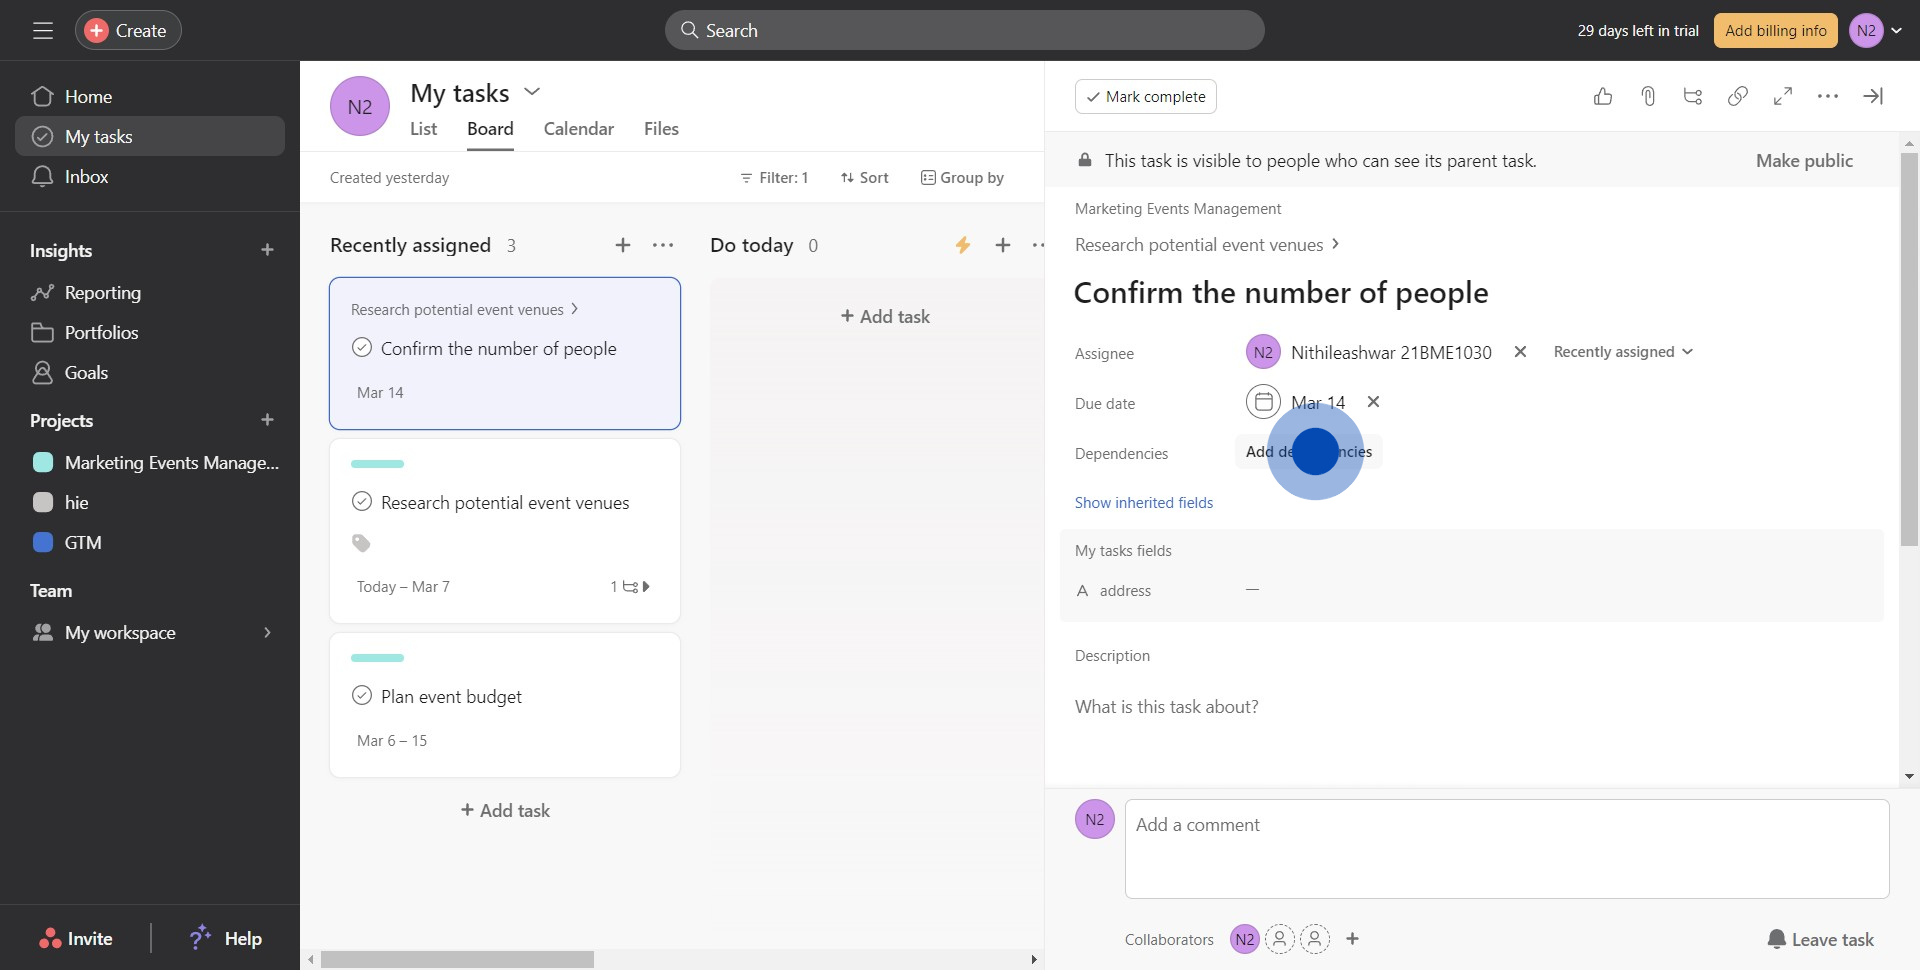
8. Finally, select the parent task and you've successfully added a subtask!
Common FAQs on Asana
How do I create and manage tasks in Asana?
To create a task in Asana, navigate to the project where you want to add the task and click on the “+ Add Task” button. Enter a task name and add details such as assignees, due dates, descriptions, and subtasks. You can also attach files, add comments, and assign task priority levels. To manage tasks, use features like task dependencies, which allow you to indicate that one task cannot start until another is completed, and task statuses, which help track progress. Asana’s “My Tasks” view lets each team member see and organize their assigned tasks across all projects, helping them prioritize their work effectively.
How can I track project progress in Asana?
Asana offers several tools to help you track project progress. The “Timeline” view provides a Gantt chart-style visualization of tasks and their dependencies, allowing you to see the project schedule and make adjustments as needed. The “Board” view offers a Kanban-style interface where tasks are organized into columns, representing different stages of the project. The “Calendar” view shows tasks based on their due dates, giving a clear overview of deadlines. Additionally, Asana’s “Progress” tab in each project provides status updates and charts that track completed tasks versus outstanding ones. You can use this data to ensure your project stays on track and identify potential bottlenecks.
What integrations are available in Asana, and how do they enhance productivity?
Asana integrates with numerous tools that can enhance productivity by streamlining workflows and centralizing information. Popular integrations include Slack, Google Drive, Microsoft Teams, Zoom, and Jira. For instance, integrating Asana with Slack allows you to receive task updates directly in your Slack channels and create tasks from Slack messages. Google Drive integration enables you to attach files from your Drive directly to Asana tasks, ensuring all relevant documents are easily accessible. With the Zoom integration, you can create and link Zoom meetings to tasks, making it easier to manage meetings related to specific tasks or projects. To set up integrations, visit Asana’s “Apps” section and follow the instructions to connect your desired tools.
Create your own step-by-step demo
Scale up your training and product adoption with beautiful AI-powered interactive demos and guides. Create your first Supademo in seconds for free.
