How to add additional ticket status in Zendesk

How to add additional ticket status in Zendesk

Overview

Take control of your customer support workflow by learning how to effortlessly add additional ticket statuses in Zendesk. With this interactive guide learn how to customize and optimize your support process by creating new status options that align perfectly with your team's unique needs, ensuring smooth ticket management and enhanced customer satisfaction.

Step by step interactive walkthrough

Steps to How to add additional ticket status in Zendesk

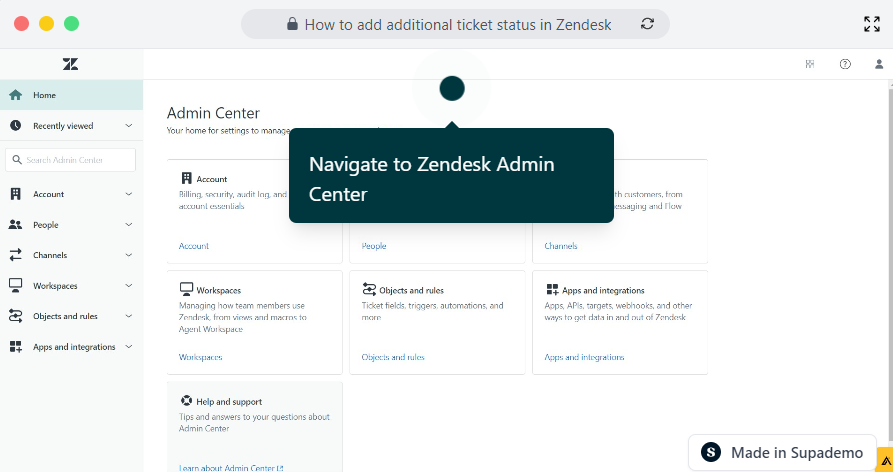
1) Navigate to Zendesk Admin Center

2) Click on "Objects and rules"

3) Click on "Ticket statuses"

4) Fill in the Status Category

5) Name your ticket status

6) Fill in the description

7) Click on "Save"

A core issue we identified was that the team was often spending a lot of time creating custom demos, guides, or walkthroughs for unqualified prospects.

Ultimately, this led to a lot of wasted time, a huge amount of burden and effort for already busy staff, and a diffusion of focus on targeting the right prospects.

Casey O'Brien
Solutions Consulting Director

Prior to Supademo, we were spending countless hours putting together demos and videos across discovery, qualification, training, or simply answering common questions. Creating these could take upwards of 8-10 hours, which is both painful for us, but also less engaging for prospects.

Andreas Moekesch
Solutions Consulting, Processmaker

One of my pain points was how time-consuming it was to create product demos for both demonstrations and trade shows manually. The ability to create a Supademo in minutes and the ability to showcase these at conferences has saved us an incredible amount of time!

Kirill Stolbushkin
Solutions Consulting, Processmaker