How to add a due date in Asana

How to add a due date in Asana

Overview:

Streamline your task management in Asana by mastering the art of adding due dates. Elevate your productivity and organization as you effortlessly set deadlines for your tasks, ensuring timely completion. This guide offers a step-by-step process to seamlessly incorporate due dates into your Asana workflow, enhancing efficiency and clarity in task management within the Asana platform.

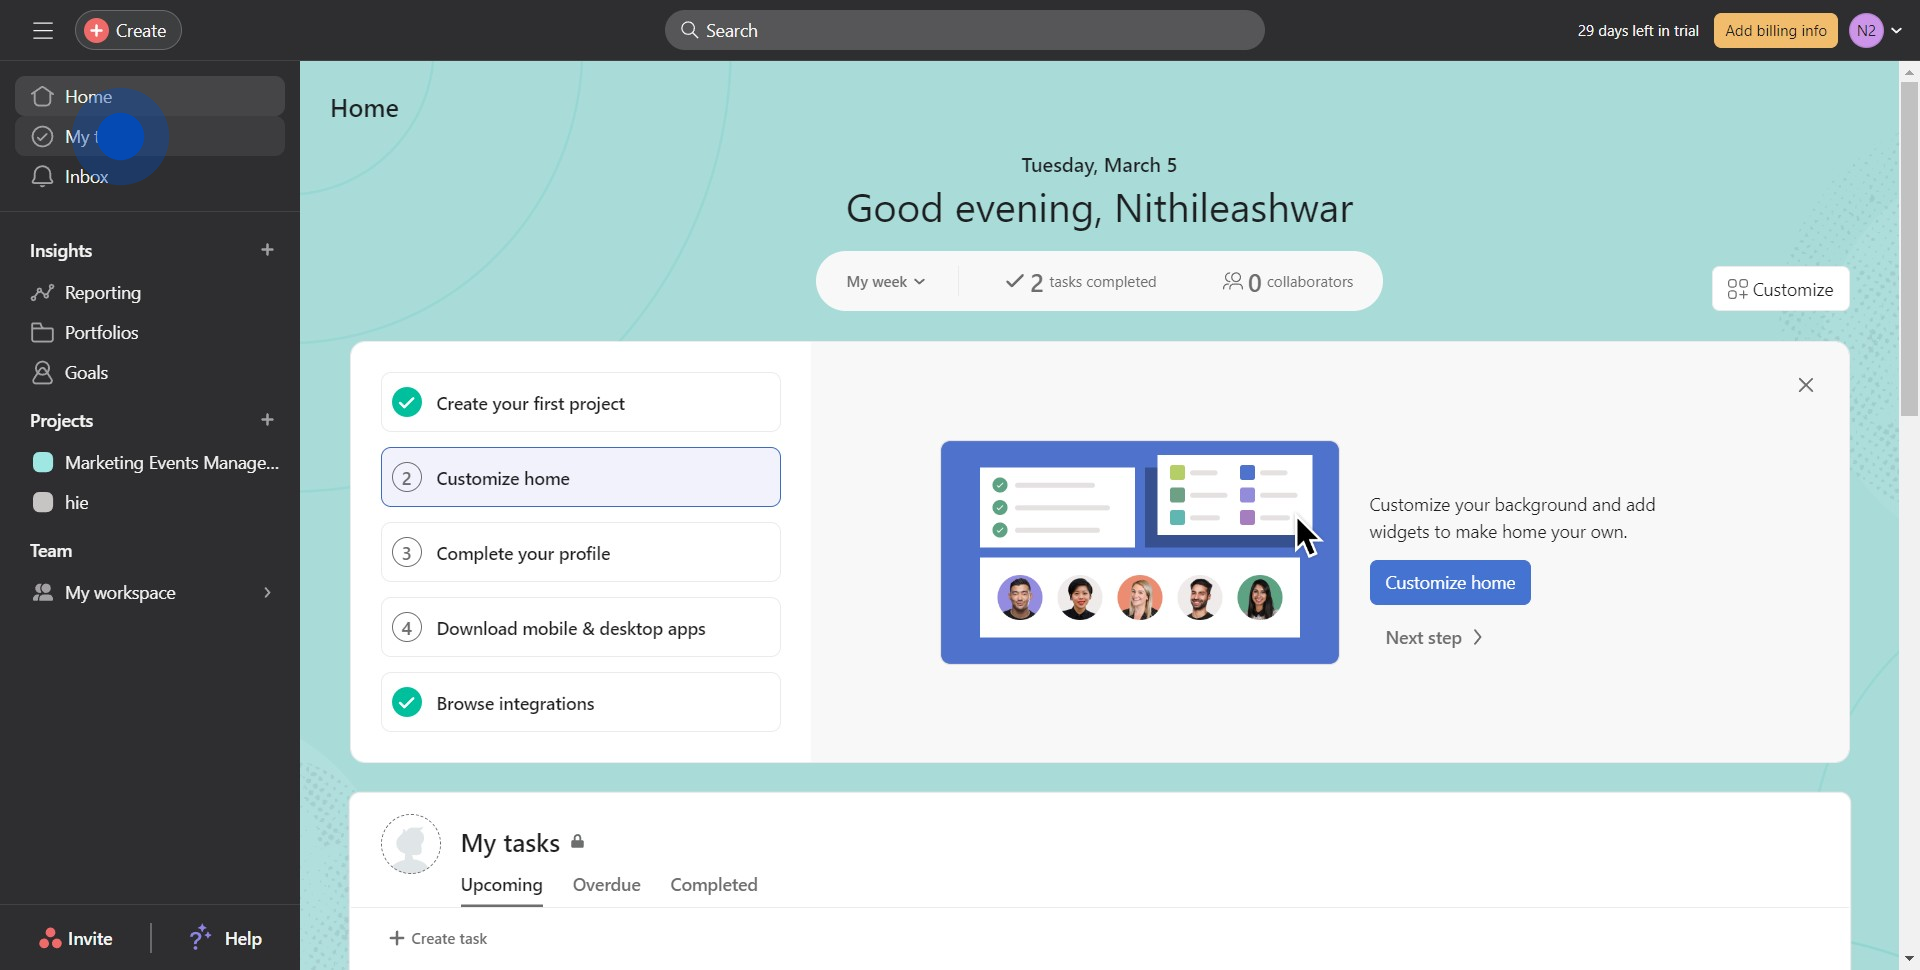
1. Click on "My tasks".

1 Click on "My tasks"

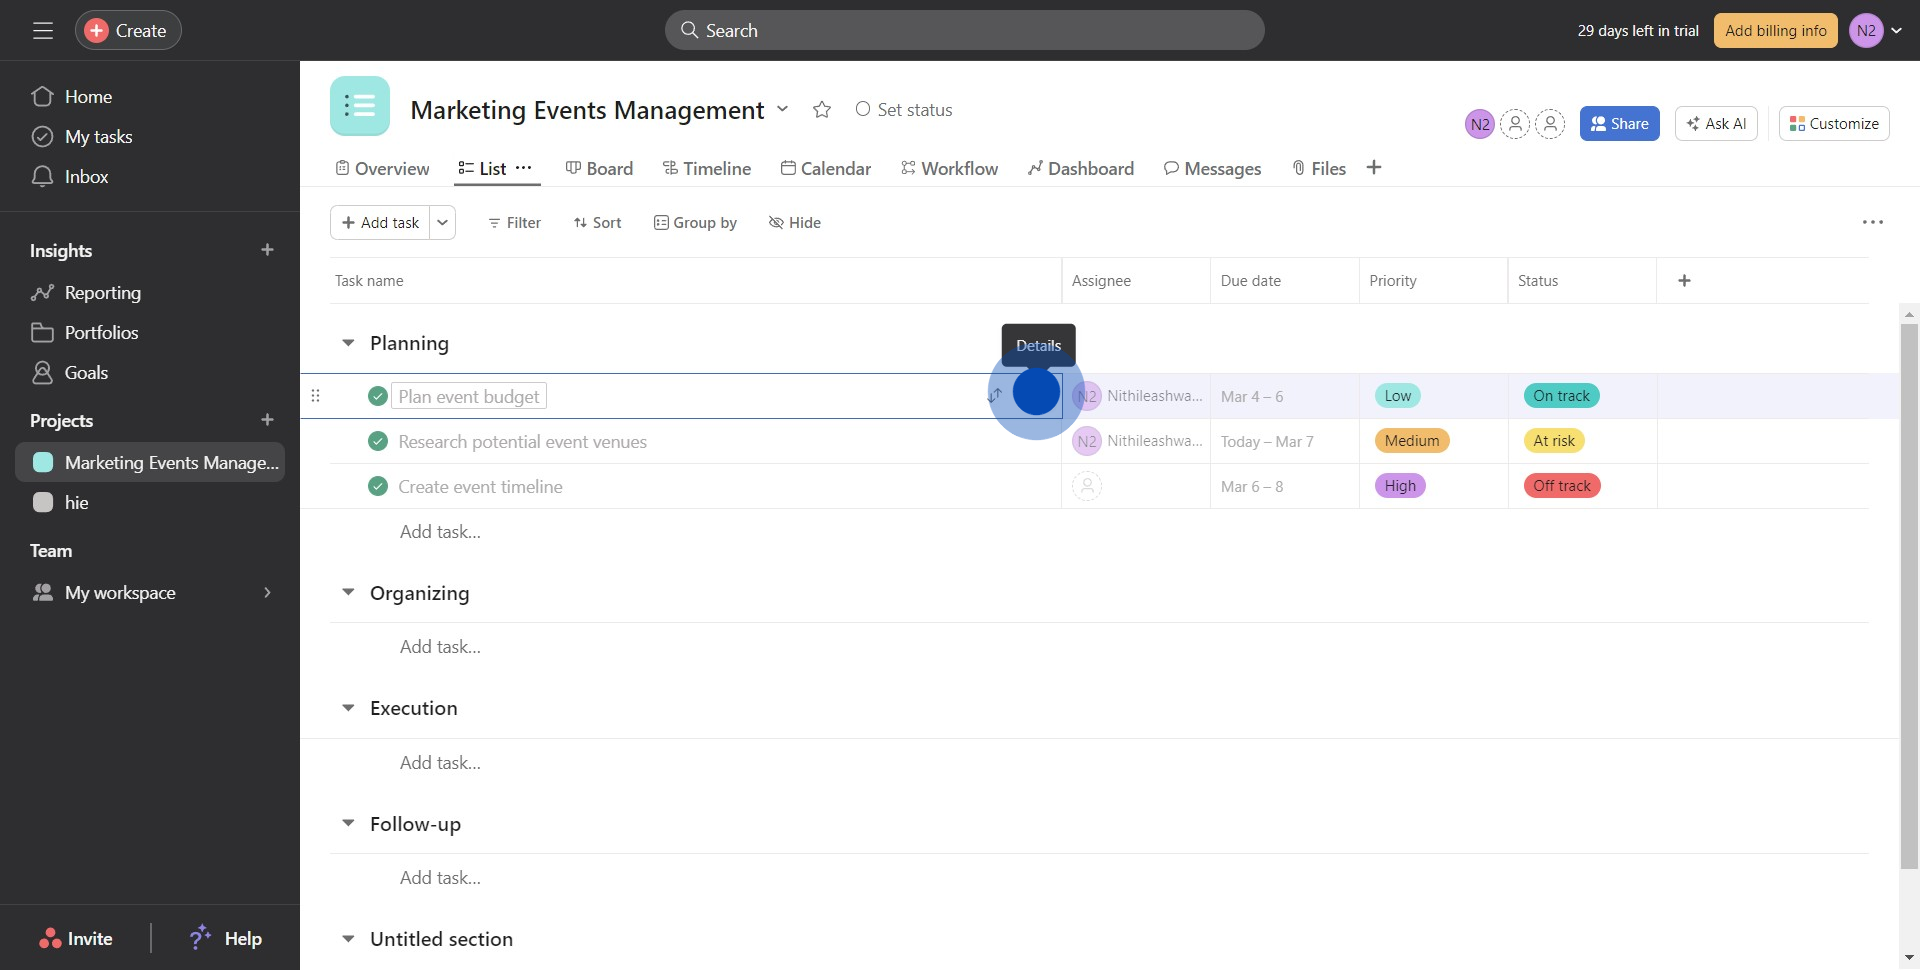
2. Then, open the task

2 Click here

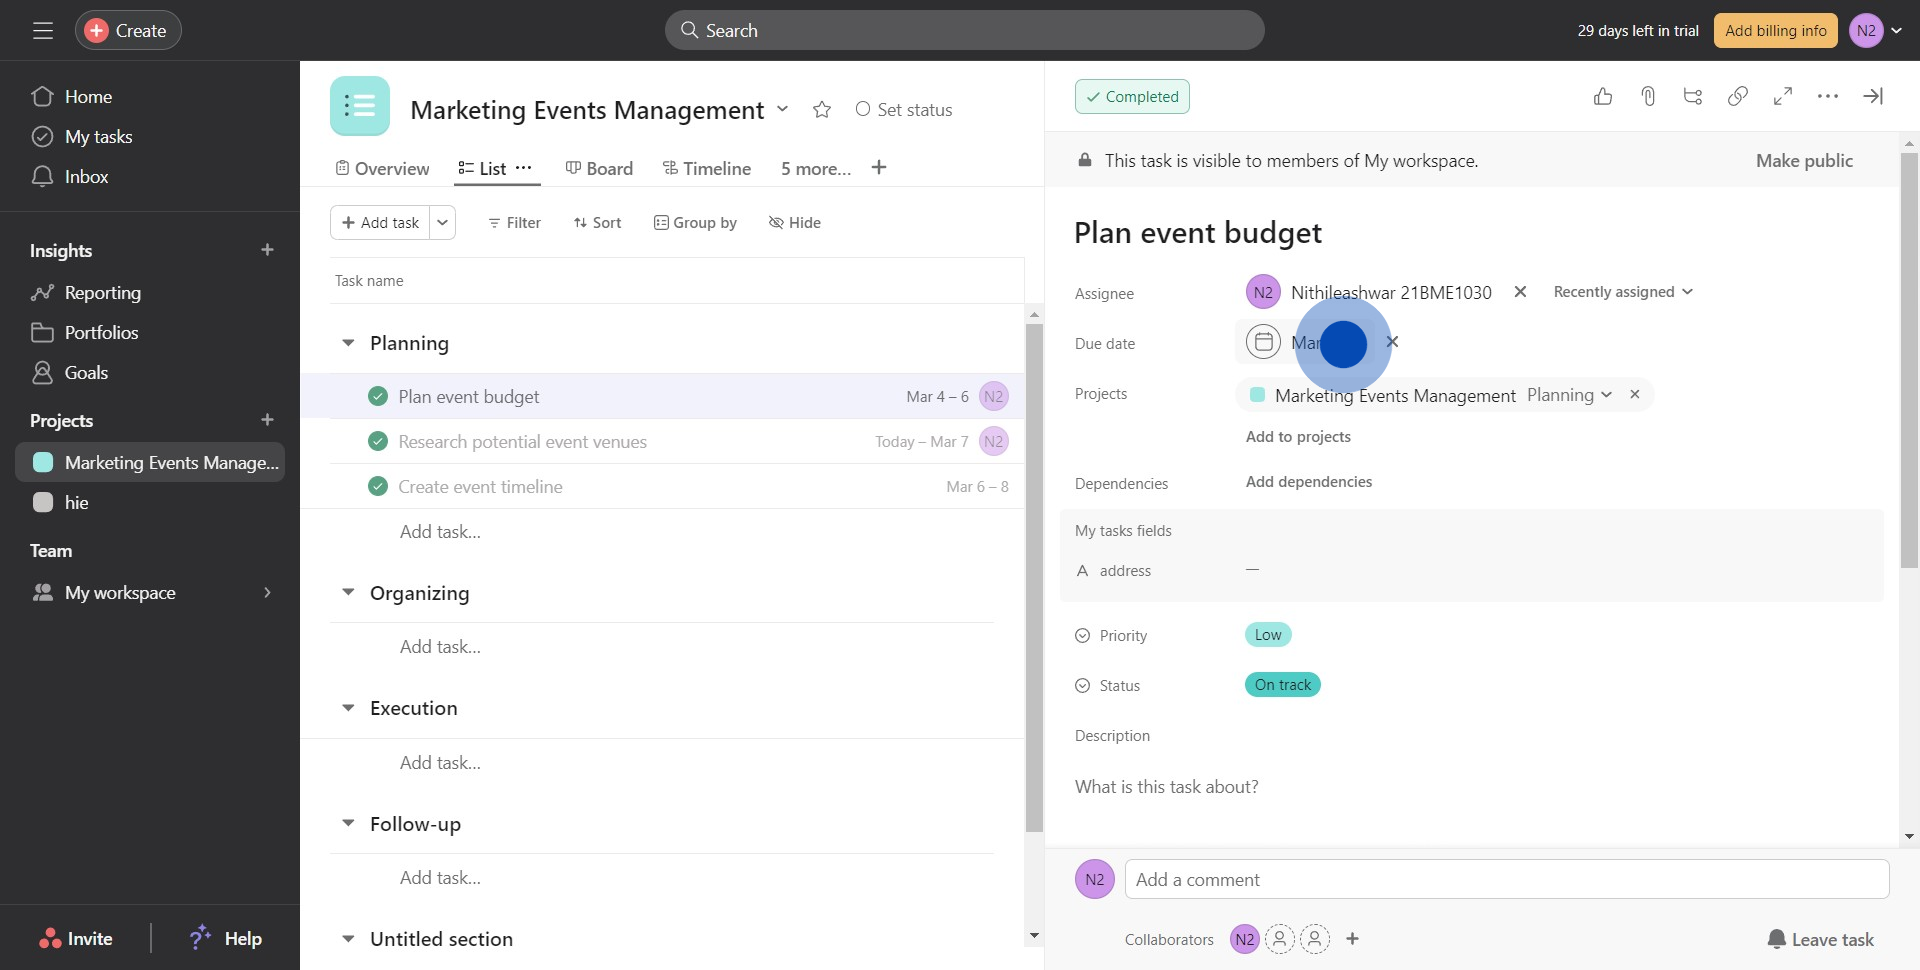
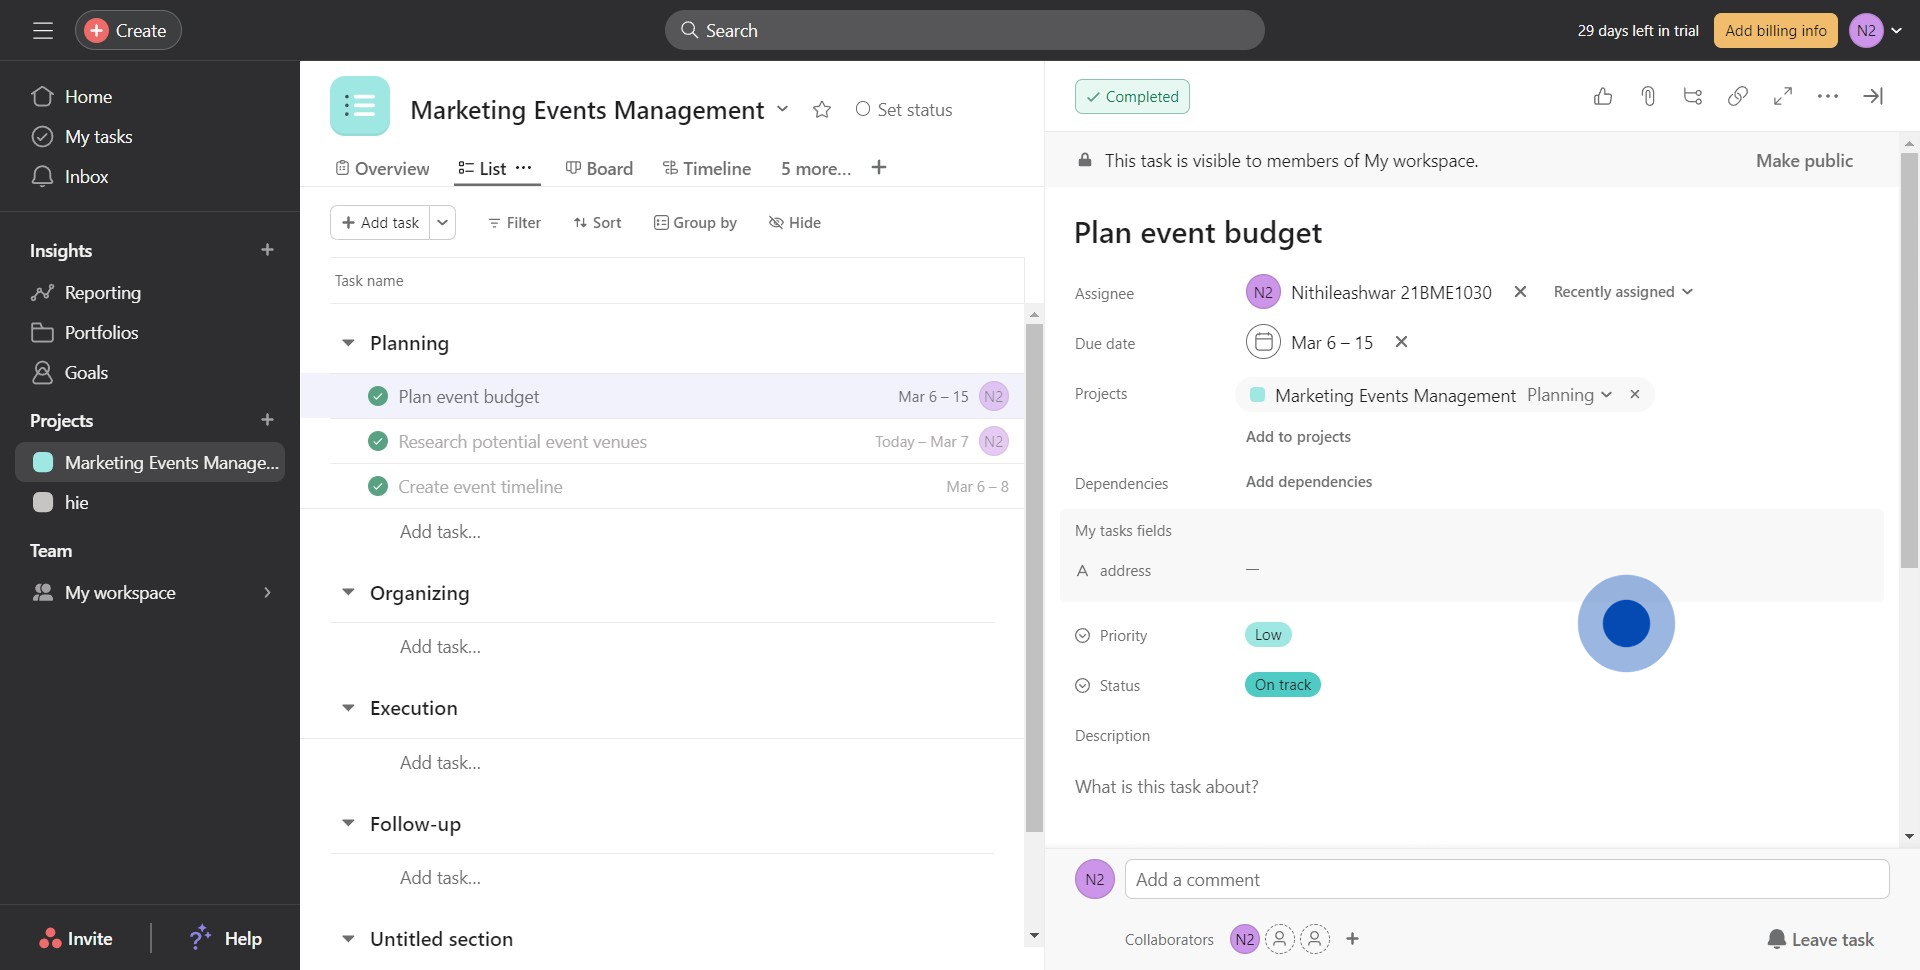
3. Once that's done, click here to add the due date

3 Click on " – 6"

4. Select the desired date

4 Click on "15"

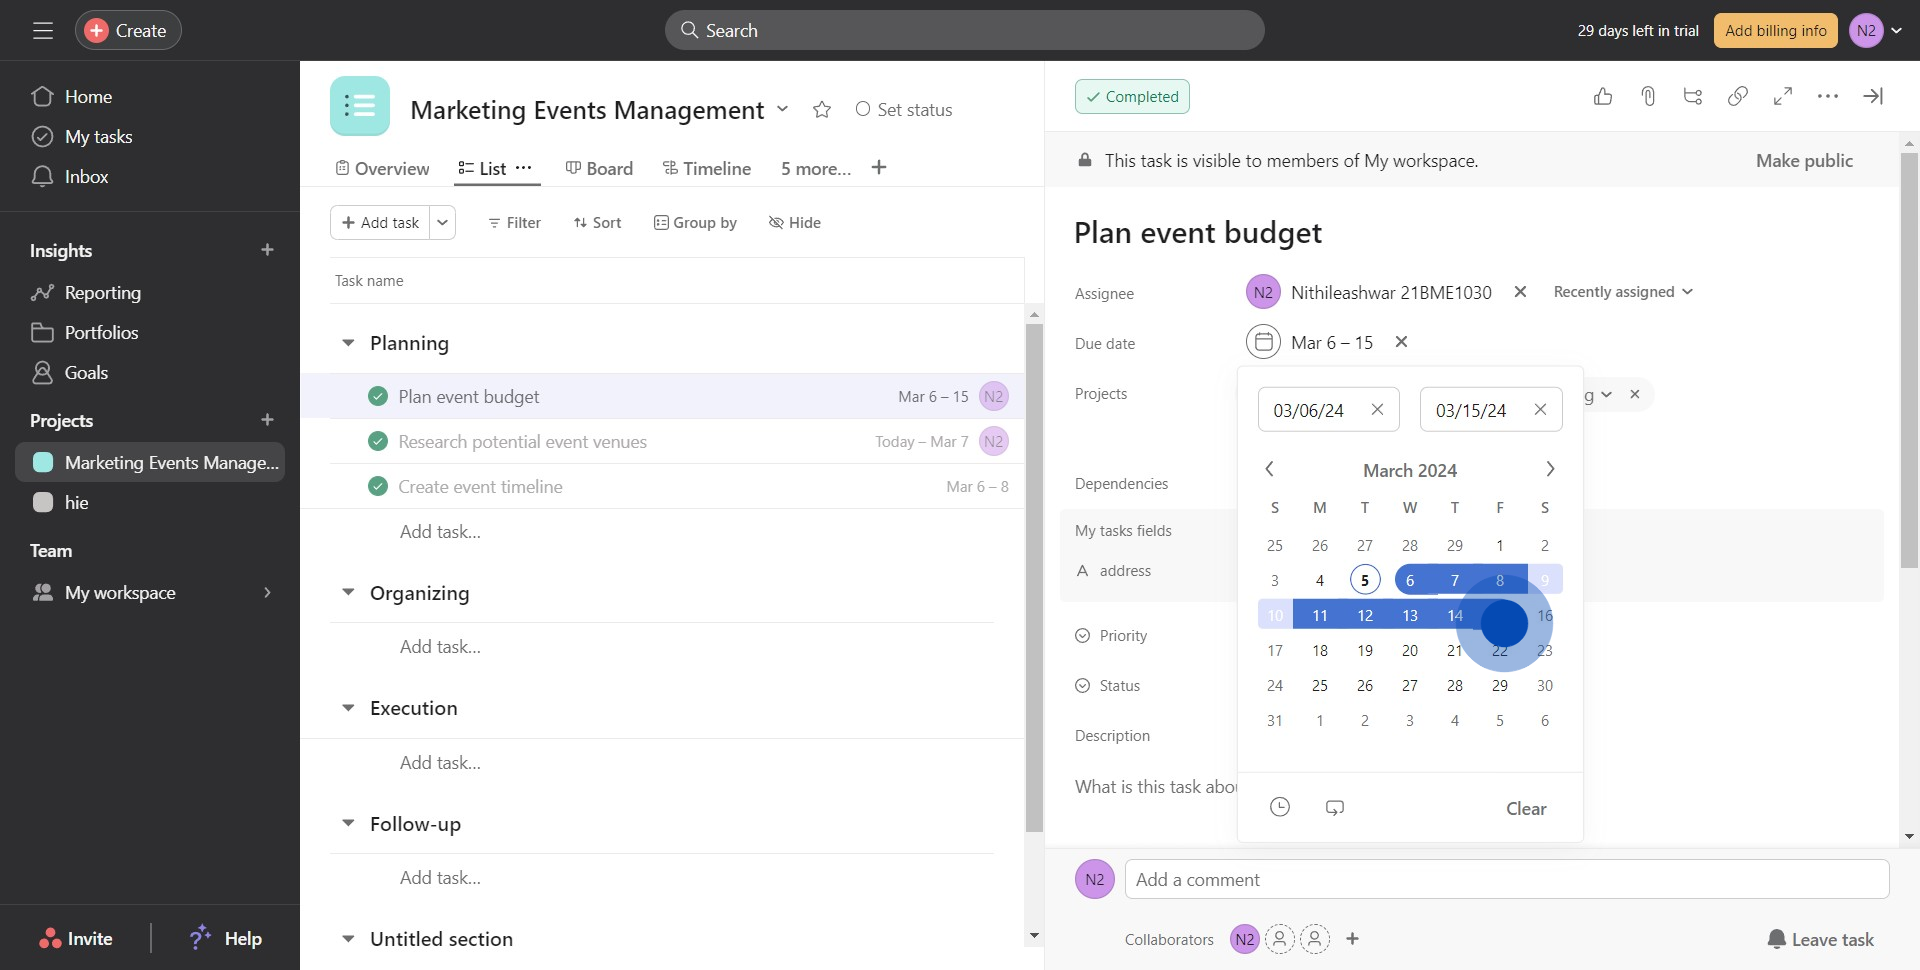
5. You've added a due date to the task

5 Click on "Low"

Create your own step-by-step demo

Scale up your training and product adoption with beautiful AI-powered interactive demos and guides. Create your first Supademo in seconds for free.

A core issue we identified was that the team was often spending a lot of time creating custom demos, guides, or walkthroughs for unqualified prospects.

Ultimately, this led to a lot of wasted time, a huge amount of burden and effort for already busy staff, and a diffusion of focus on targeting the right prospects.

Casey O'Brien
Solutions Consulting Director

Prior to Supademo, we were spending countless hours putting together demos and videos across discovery, qualification, training, or simply answering common questions. Creating these could take upwards of 8-10 hours, which is both painful for us, but also less engaging for prospects.

Andreas Moekesch
Solutions Consulting, Processmaker

One of my pain points was how time-consuming it was to create product demos for both demonstrations and trade shows manually. The ability to create a Supademo in minutes and the ability to showcase these at conferences has saved us an incredible amount of time!

Kirill Stolbushkin
Solutions Consulting, Processmaker